Are you experiencing a loud cracking noise or seeing your laptop casing flex in unusual ways every time you open and close the lid? If so, you may have a problem with the broken Laptop Hinge or the plastic anchors where the hinges are screwed into the laptop body or casing.

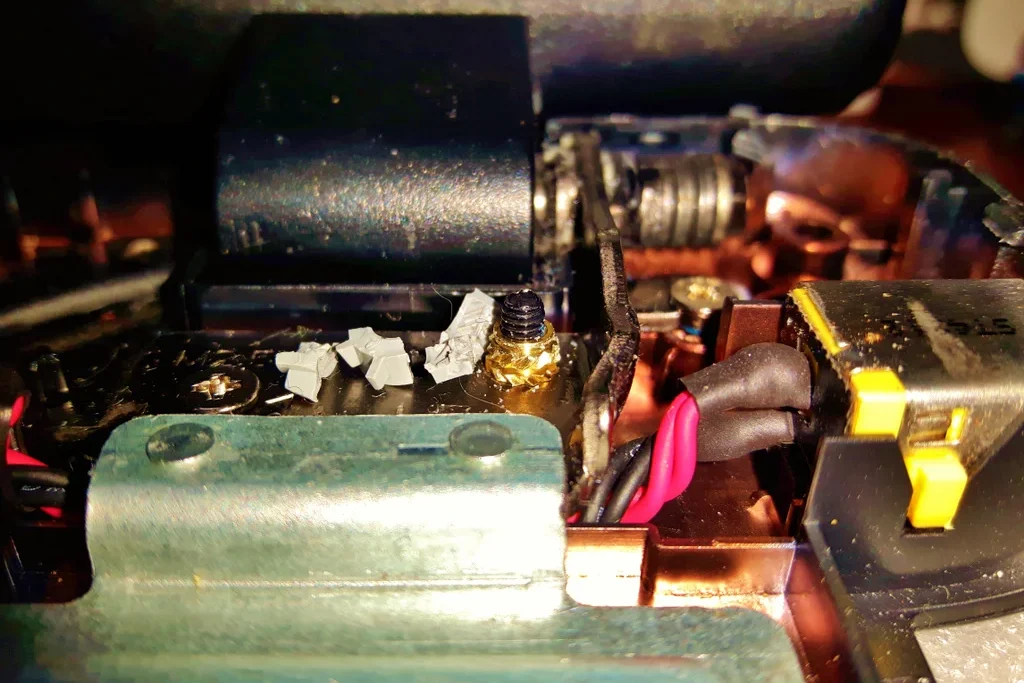
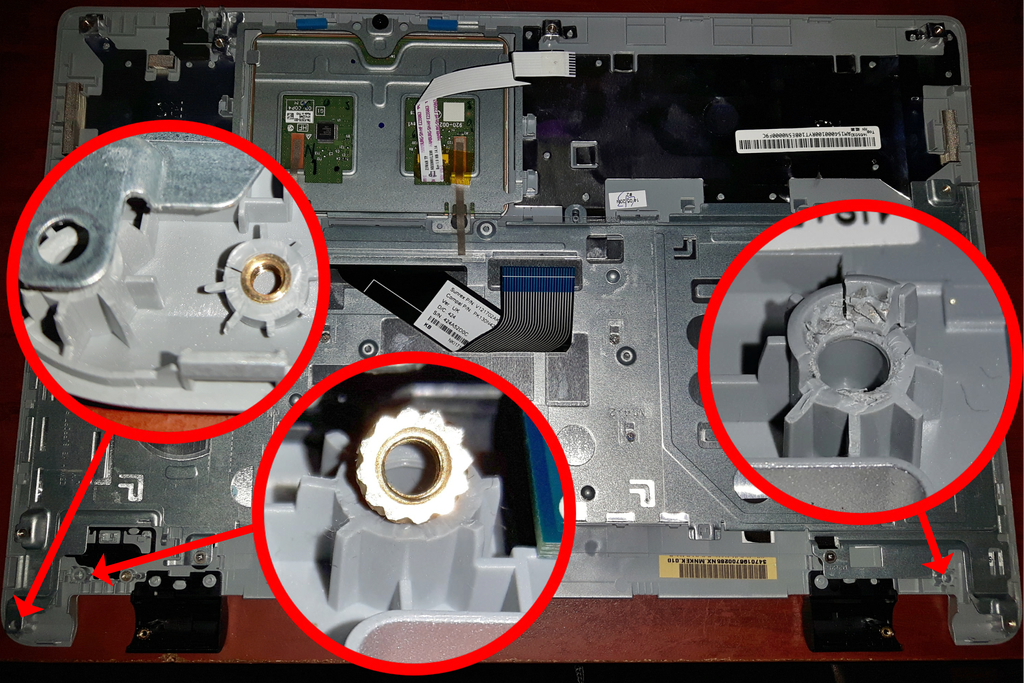
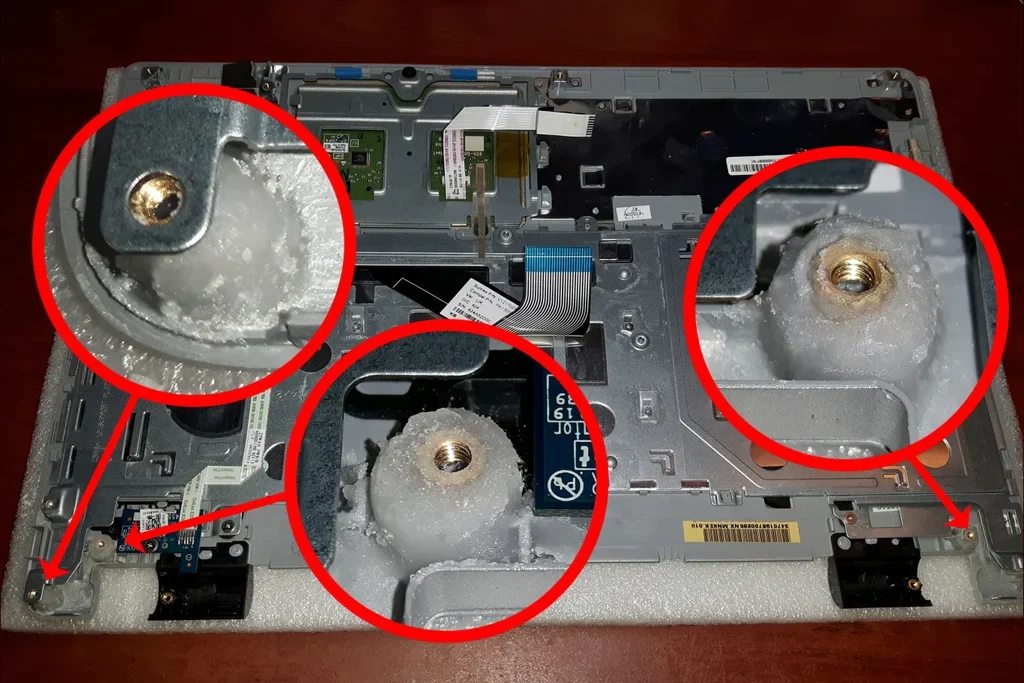
This issue is especially common in newer laptops that are designed to be thinner and lighter. Fortunately, it’s relatively easy to determine if you have snapped hinges or broken plastic anchors for the brass inserts where the hinges are screwed in. If the hinge itself is broken, you’ll likely see part of the broken metal arm of the hinge through the side of the display chassis. In this case, the best solution is to purchase replacement hinges online, typically available for around £10. However, disassembling the entire laptop, including the base and display parts, is required to replace the hinges properly. If you notice a large gap when opening and closing the laptop or the body flexing, it’s likely the plastic anchor for the brass insert(s). Glueing the pieces back together can be challenging, and drilling holes through the laptop chassis to insert screws is a common solution, although not aesthetically pleasing.
If you’re uncertain about your ability to repair your Broken Laptop Hinge, it’s best to seek professional help. Disassembling a laptop can be challenging and requires a significant amount of time and patience.
If the video above isn’t playing, please click here.
It is important to note that the disassembly process may vary significantly depending on the make and model of your laptop. Thus, we can only provide a general guide to assist you in your endeavor.
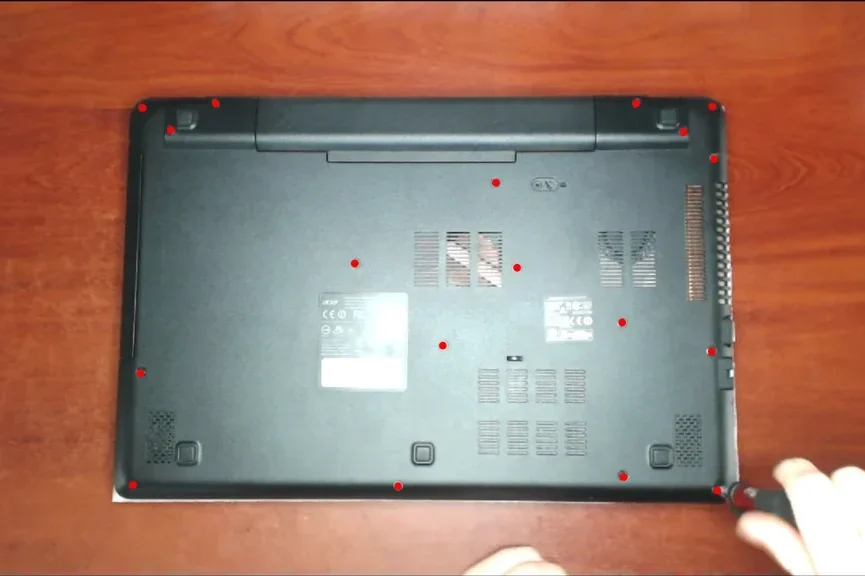
Prior to commencing any repair work on your laptop, disconnect your laptop from its power source and remove the battery. If removing the battery is not feasible, disconnect it as soon as possible. Carefully locate and unscrew all screws, placing them in a secure location such as a magnetic tray. It may be useful to use multiple trays or labels to keep track of the different sets of screws, especially if they differ in size.
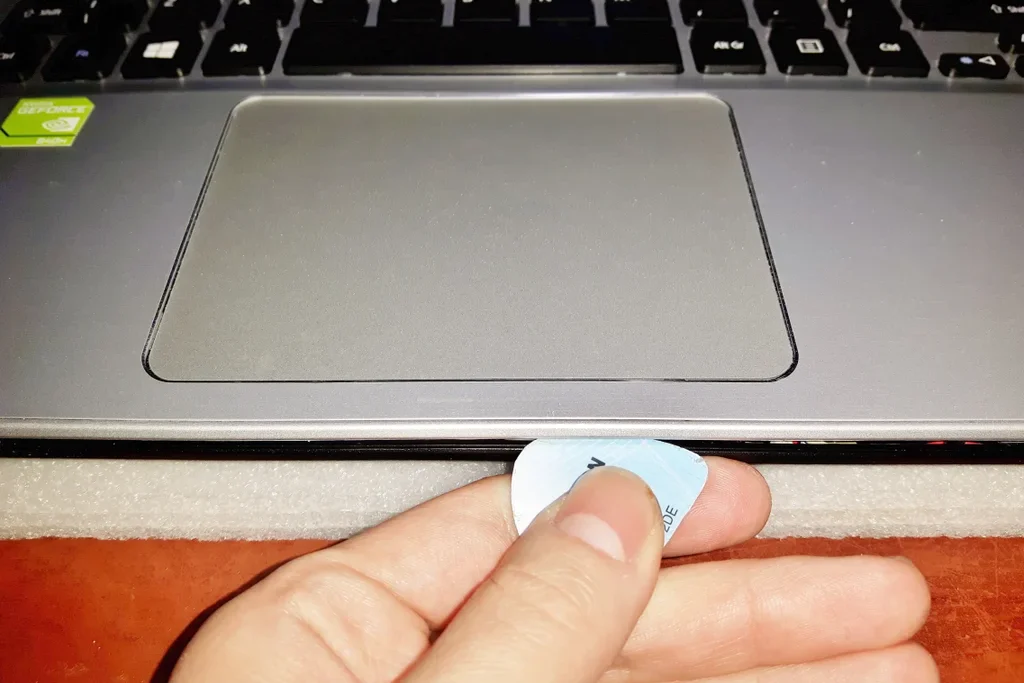
To open the laptop chassis, a plastic opening or prying tool is recommended. If such a tool is not available, an old debit card or similar item can be fashioned into a suitable tool by cutting it into the shape of a guitar plectrum.
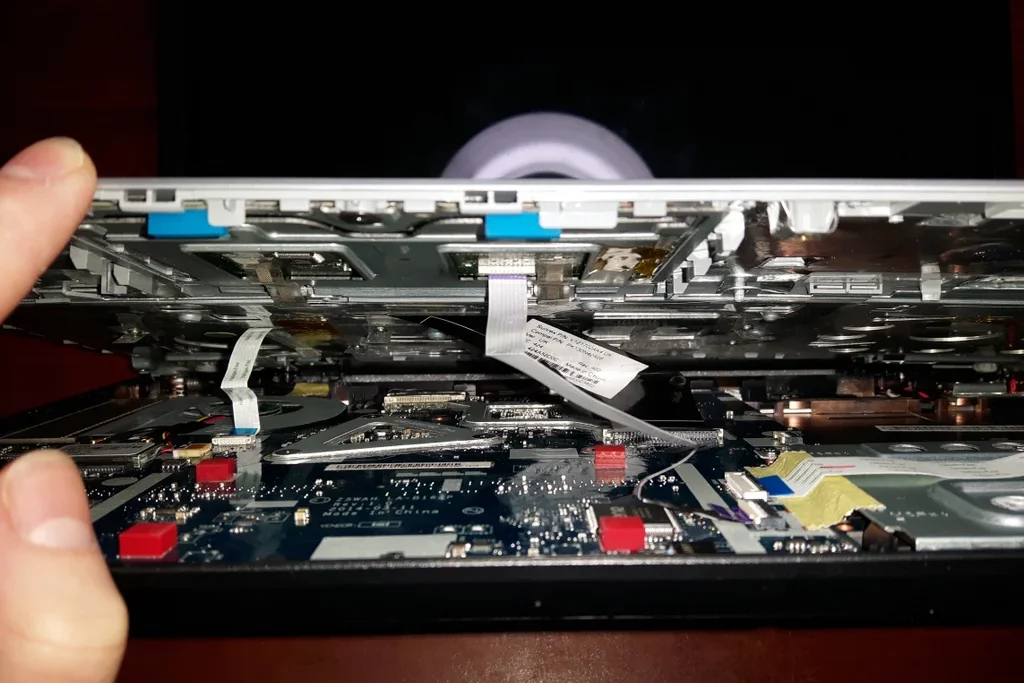
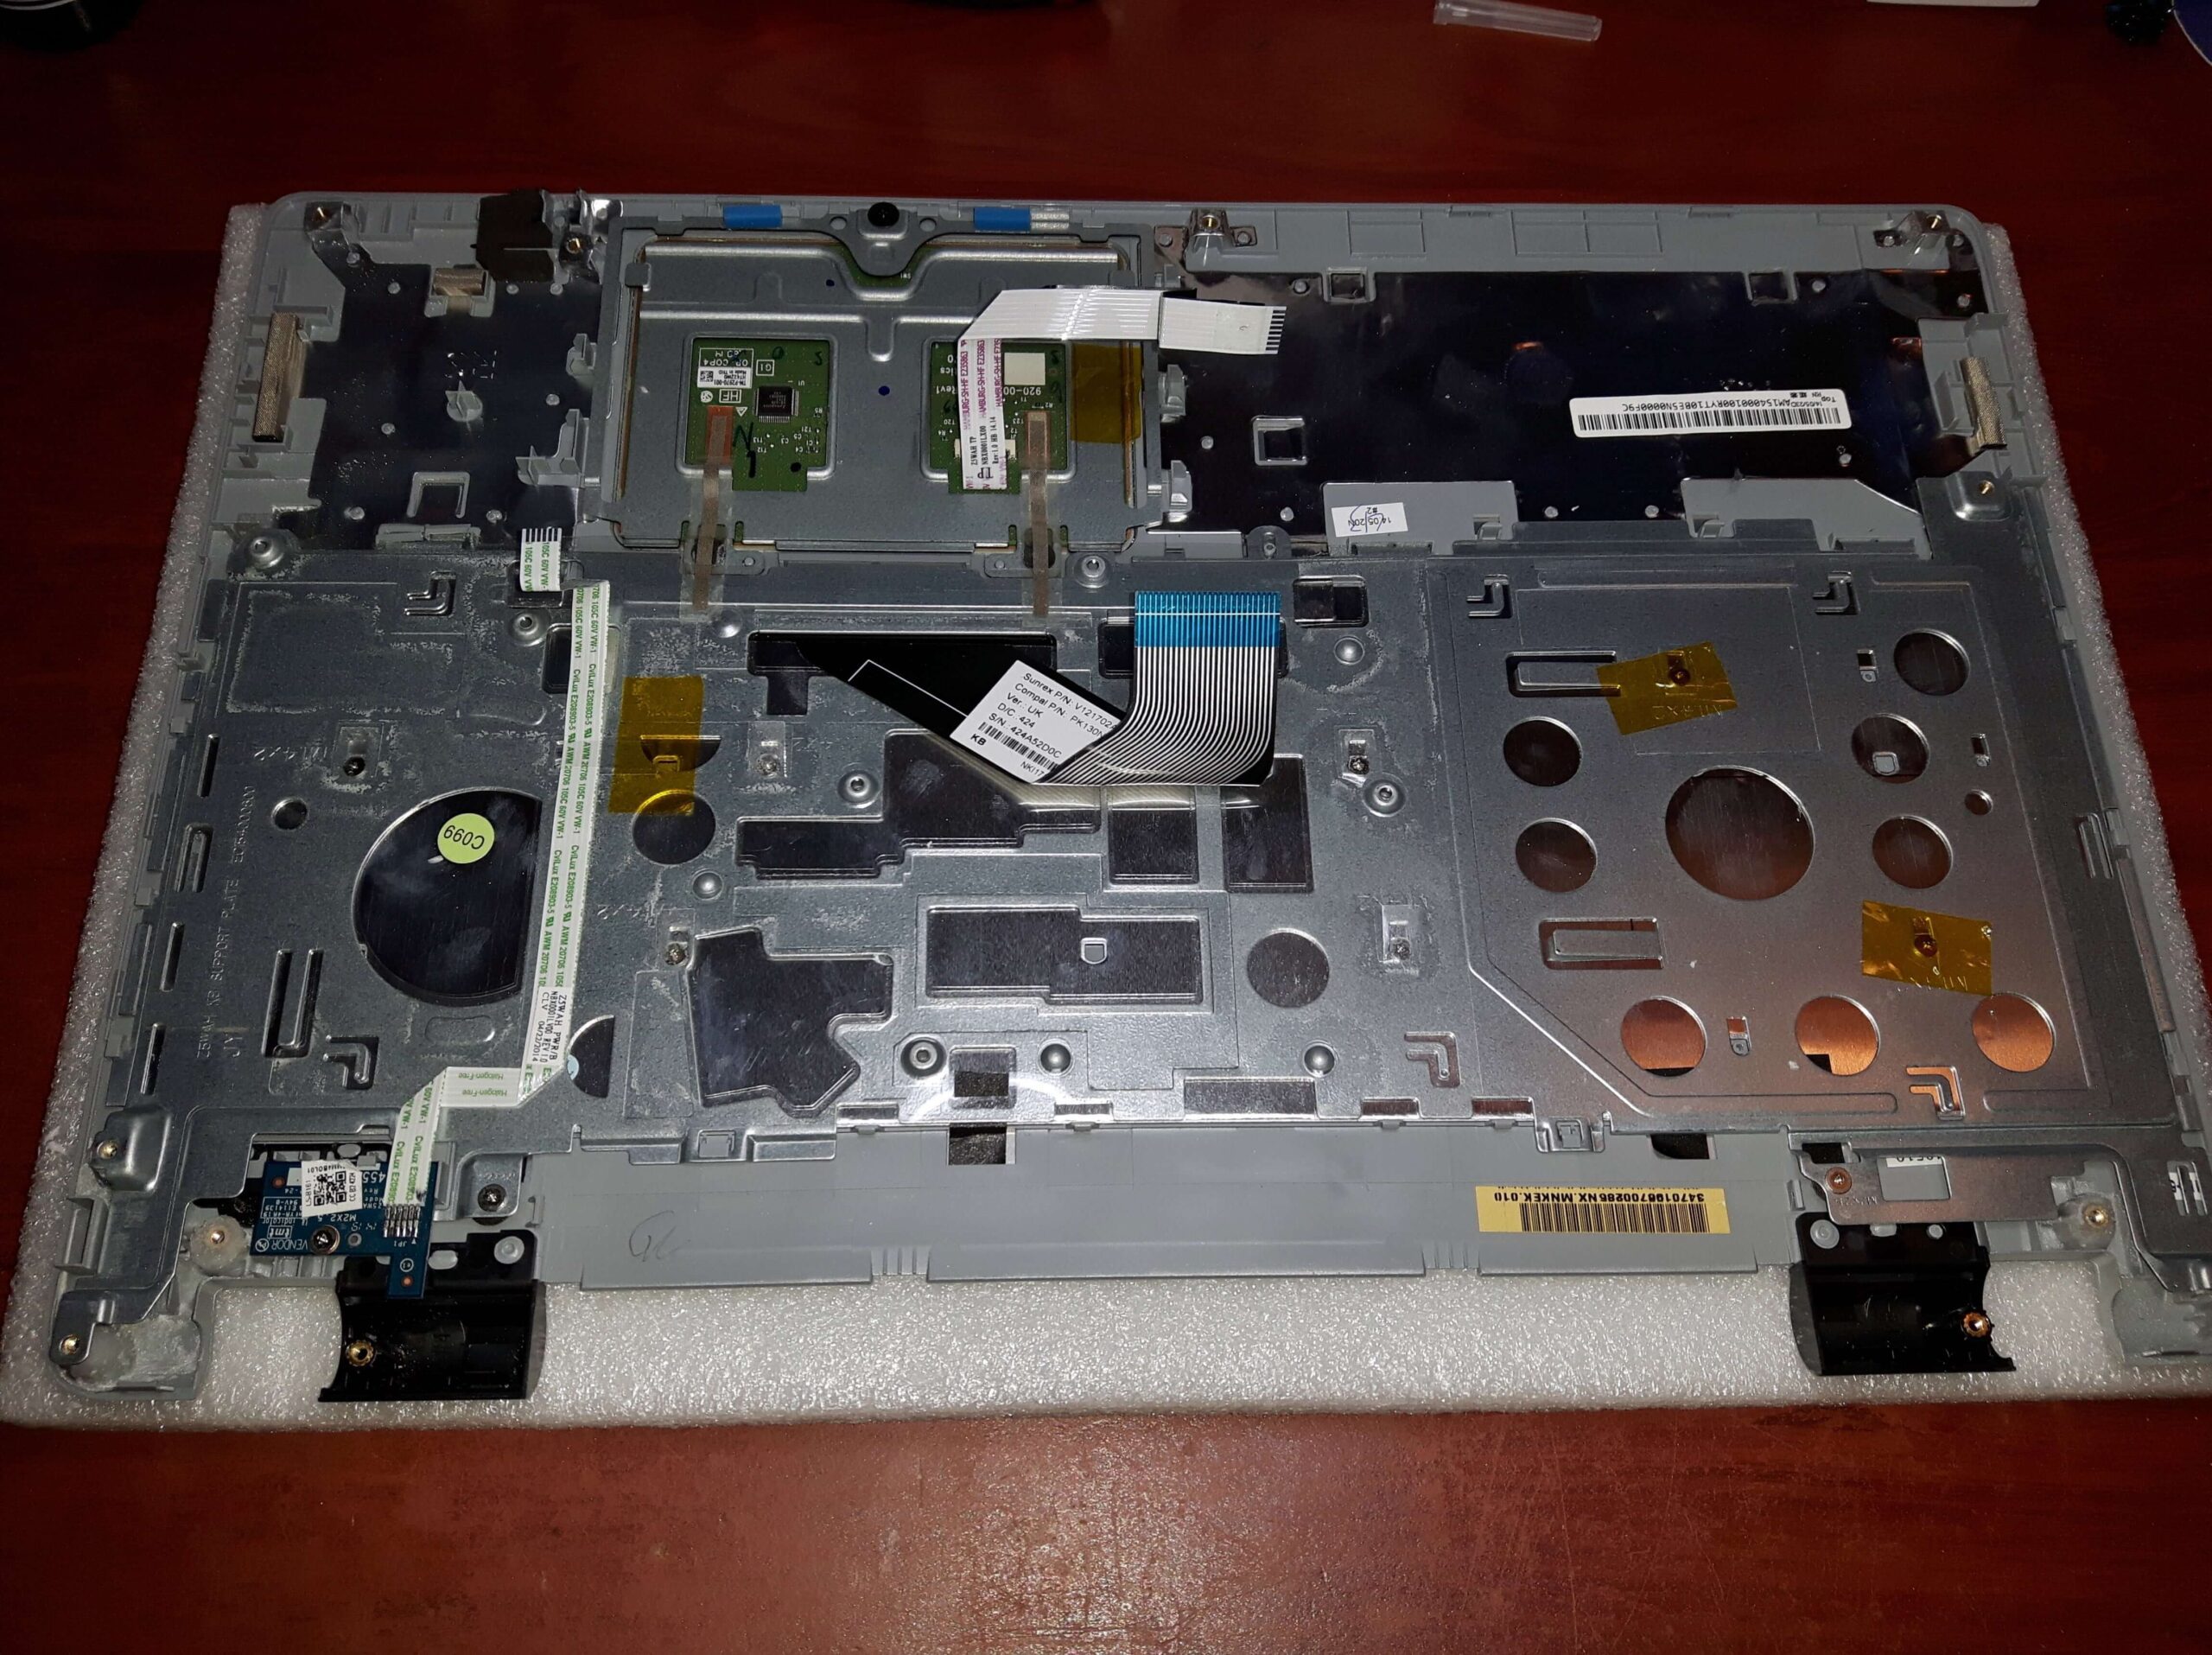
Once inside the laptop, unplug and disconnect all cables connecting different components such as the keyboard, touchpad, power button, and speakers. This step may need to be completed prior to prying open the laptop or may require the removal of the keyboard first, depending on the specific laptop model.
If the issue is related to the display portion of the laptop and not the actual hinge, it may not be necessary to disassemble the base. Typically, there will be 2 to 8 screws hidden beneath small rubber pads around the display. Carefully remove the pads with a needle or small flat-headed screwdriver to reveal the screws underneath. It is worth noting that not all pads conceal screws, so it is important to check each one. Once all screws have been removed, use the plastic pry tool to separate the display parts. This may require the unscrewing of an inverter (on older models) and the gentle removal of wires such as the display cable, Wi-Fi antenna, and webcam.
If you are unsure how to disassemble your specific laptop model, there are many resources available online, including detailed video guides. It is important to approach the disassembly process with caution and not rush, particularly if it is your first time. If in doubt, it is always wise to consult online resources or seek professional assistance.
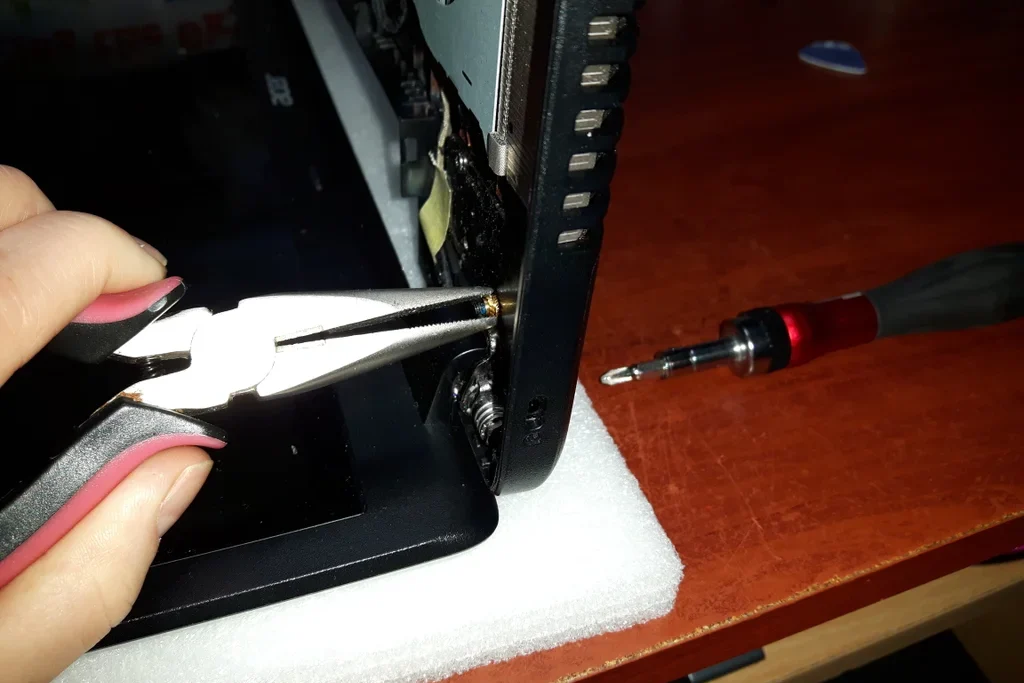
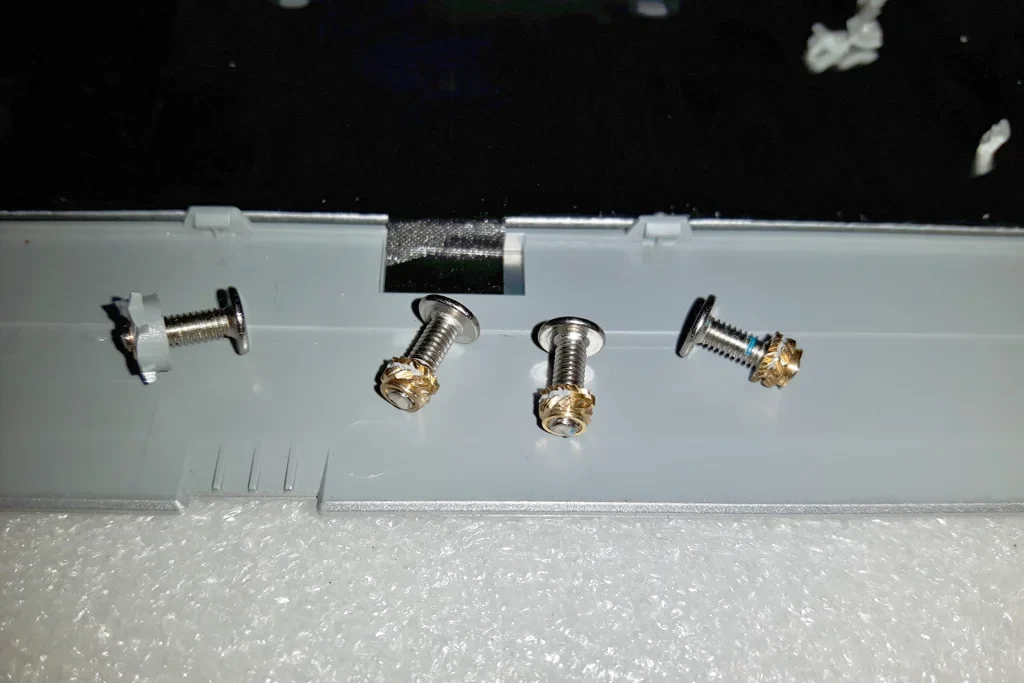
For screws that are difficult to remove due to dislodged brass inserts, holding the insert with pliers while unscrewing the screw may be necessary. Once removed, set the screws and inserts aside in a safe location.
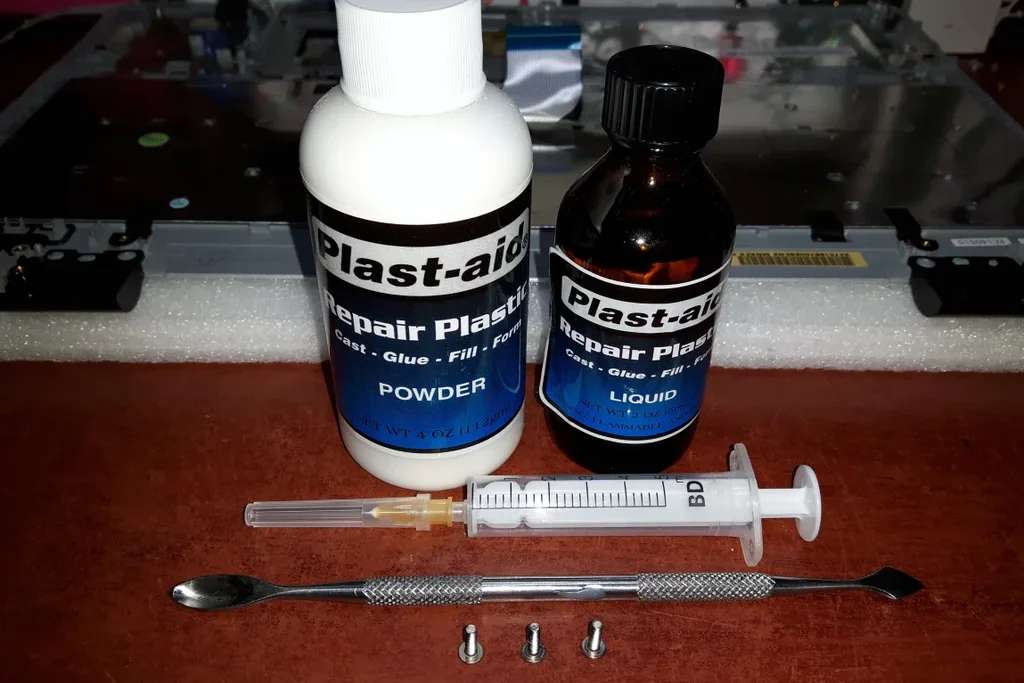
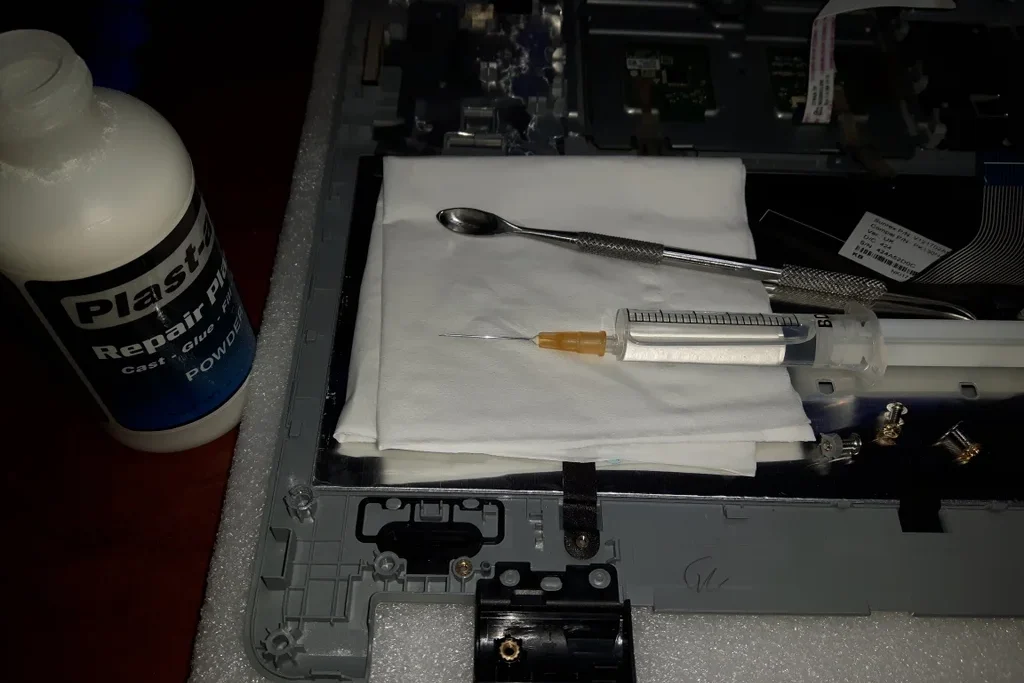
To successfully complete this step, you will require the following tools:
It is important to exercise caution when applying the liquid portion of the Plast-aid. Only apply it to the plastic anchor for the brass insert and avoid contact with any other plastic surfaces, as the liquid will leave a permanent mark. Furthermore, it is recommended to perform this step in a well-ventilated area and to protect your work surface with newspapers or other appropriate material.
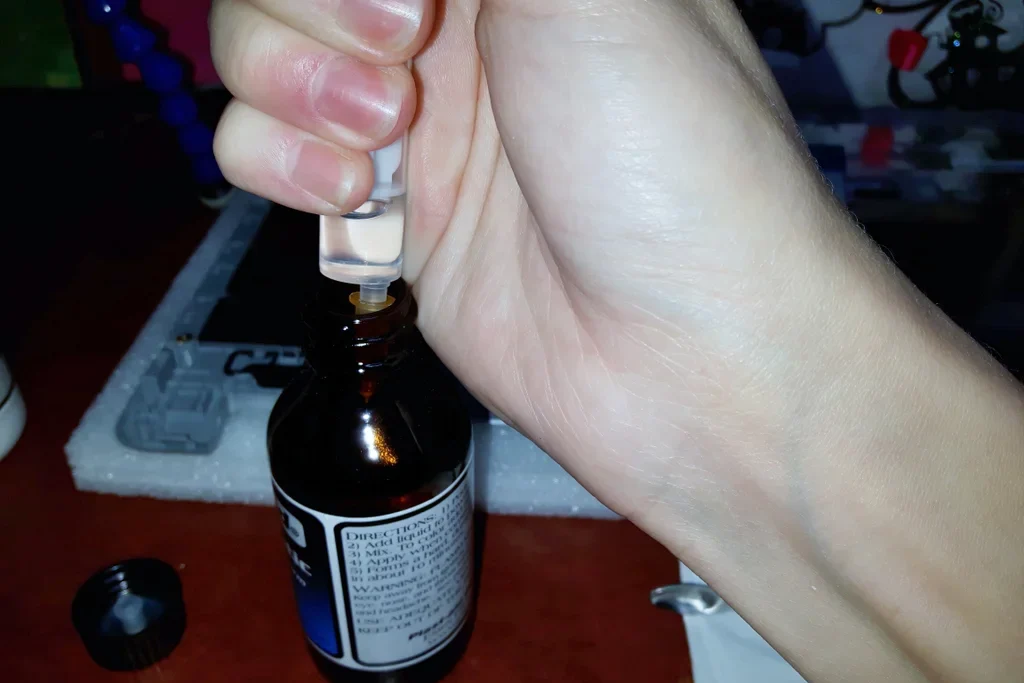
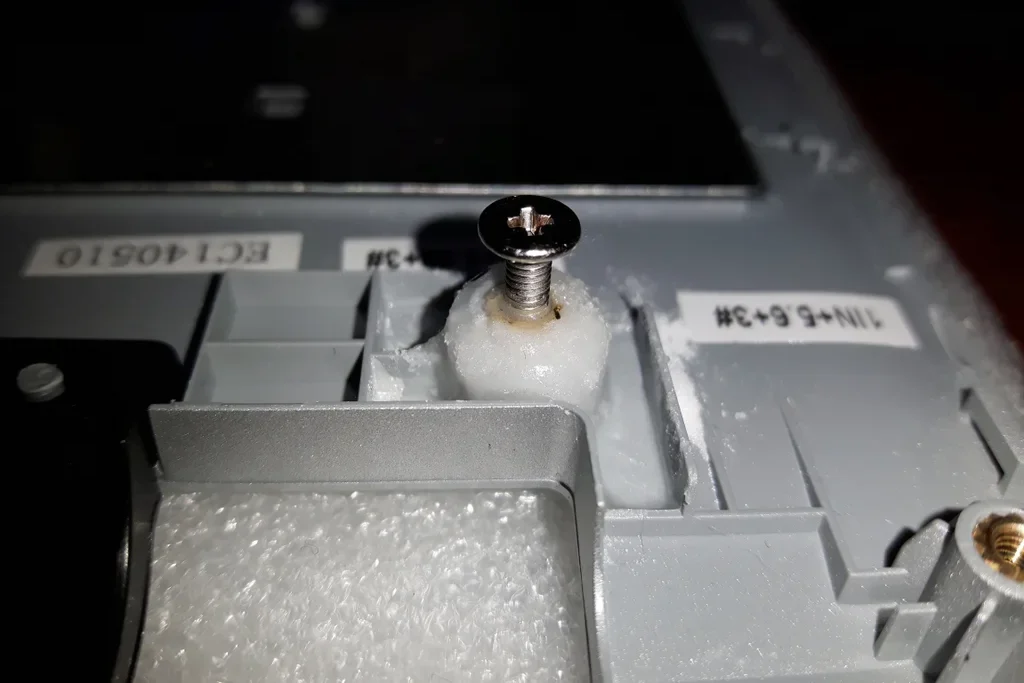
Begin by drawing the liquid Plast-aid into the syringe and placing it on a tissue to catch any drips. Next, screw the screws into the loose brass inserts until they reach the bottom of the inserts. To prevent the screws from sticking to the inserts, it is advisable to apply a small amount of WD-40 to the screw threads before this step. If there is any remaining plastic from the laptop case on the brass inserts, it is acceptable to leave it as it will aid in the adhesion of the Plast-aid.
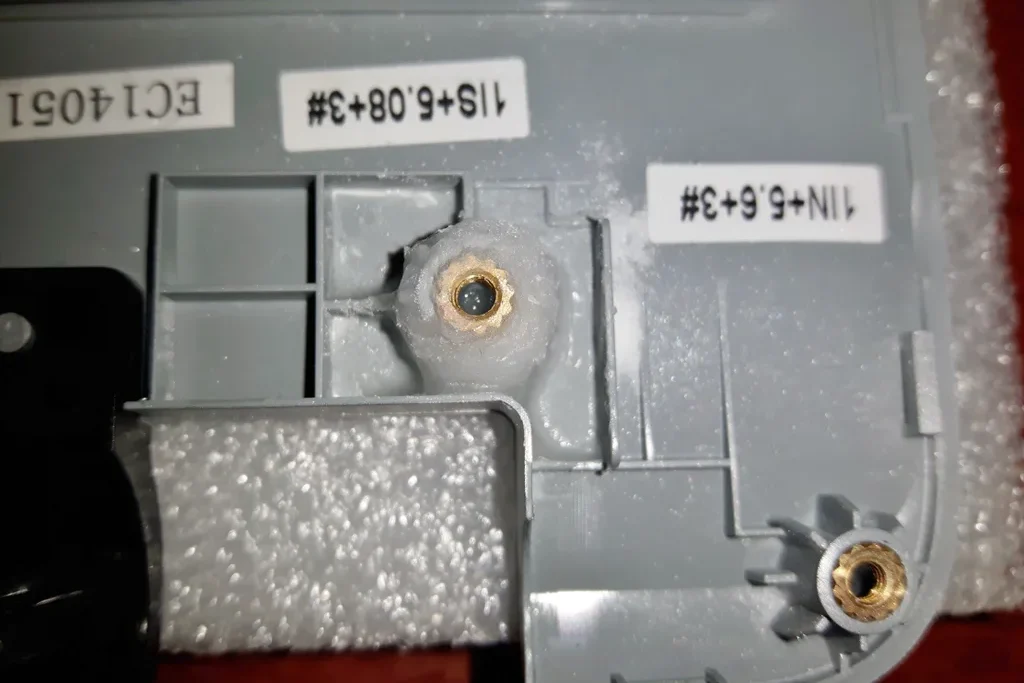
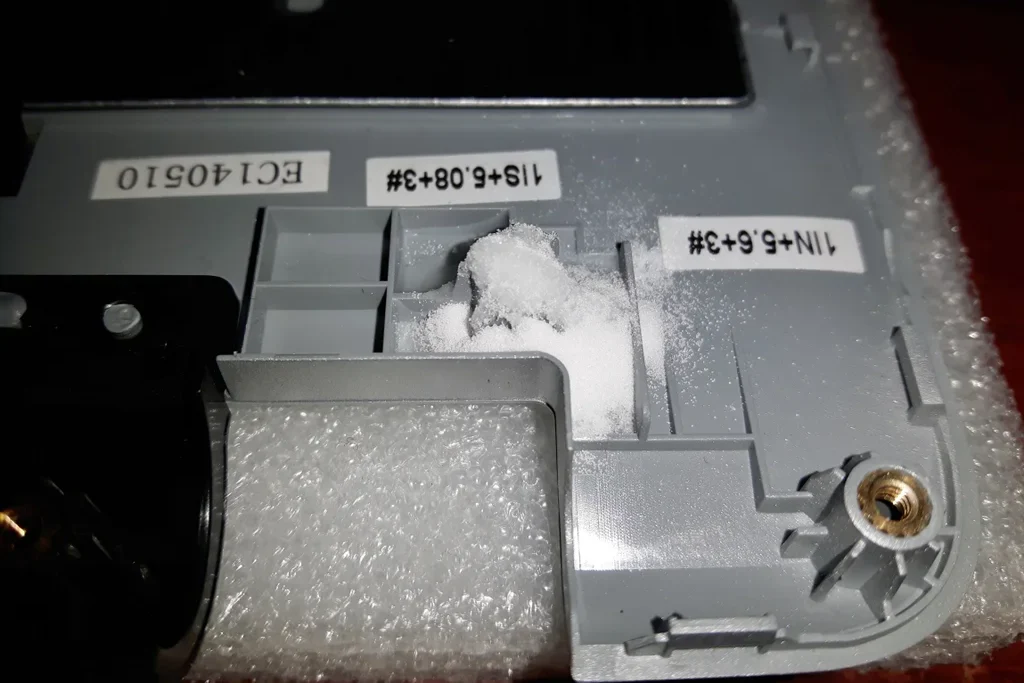
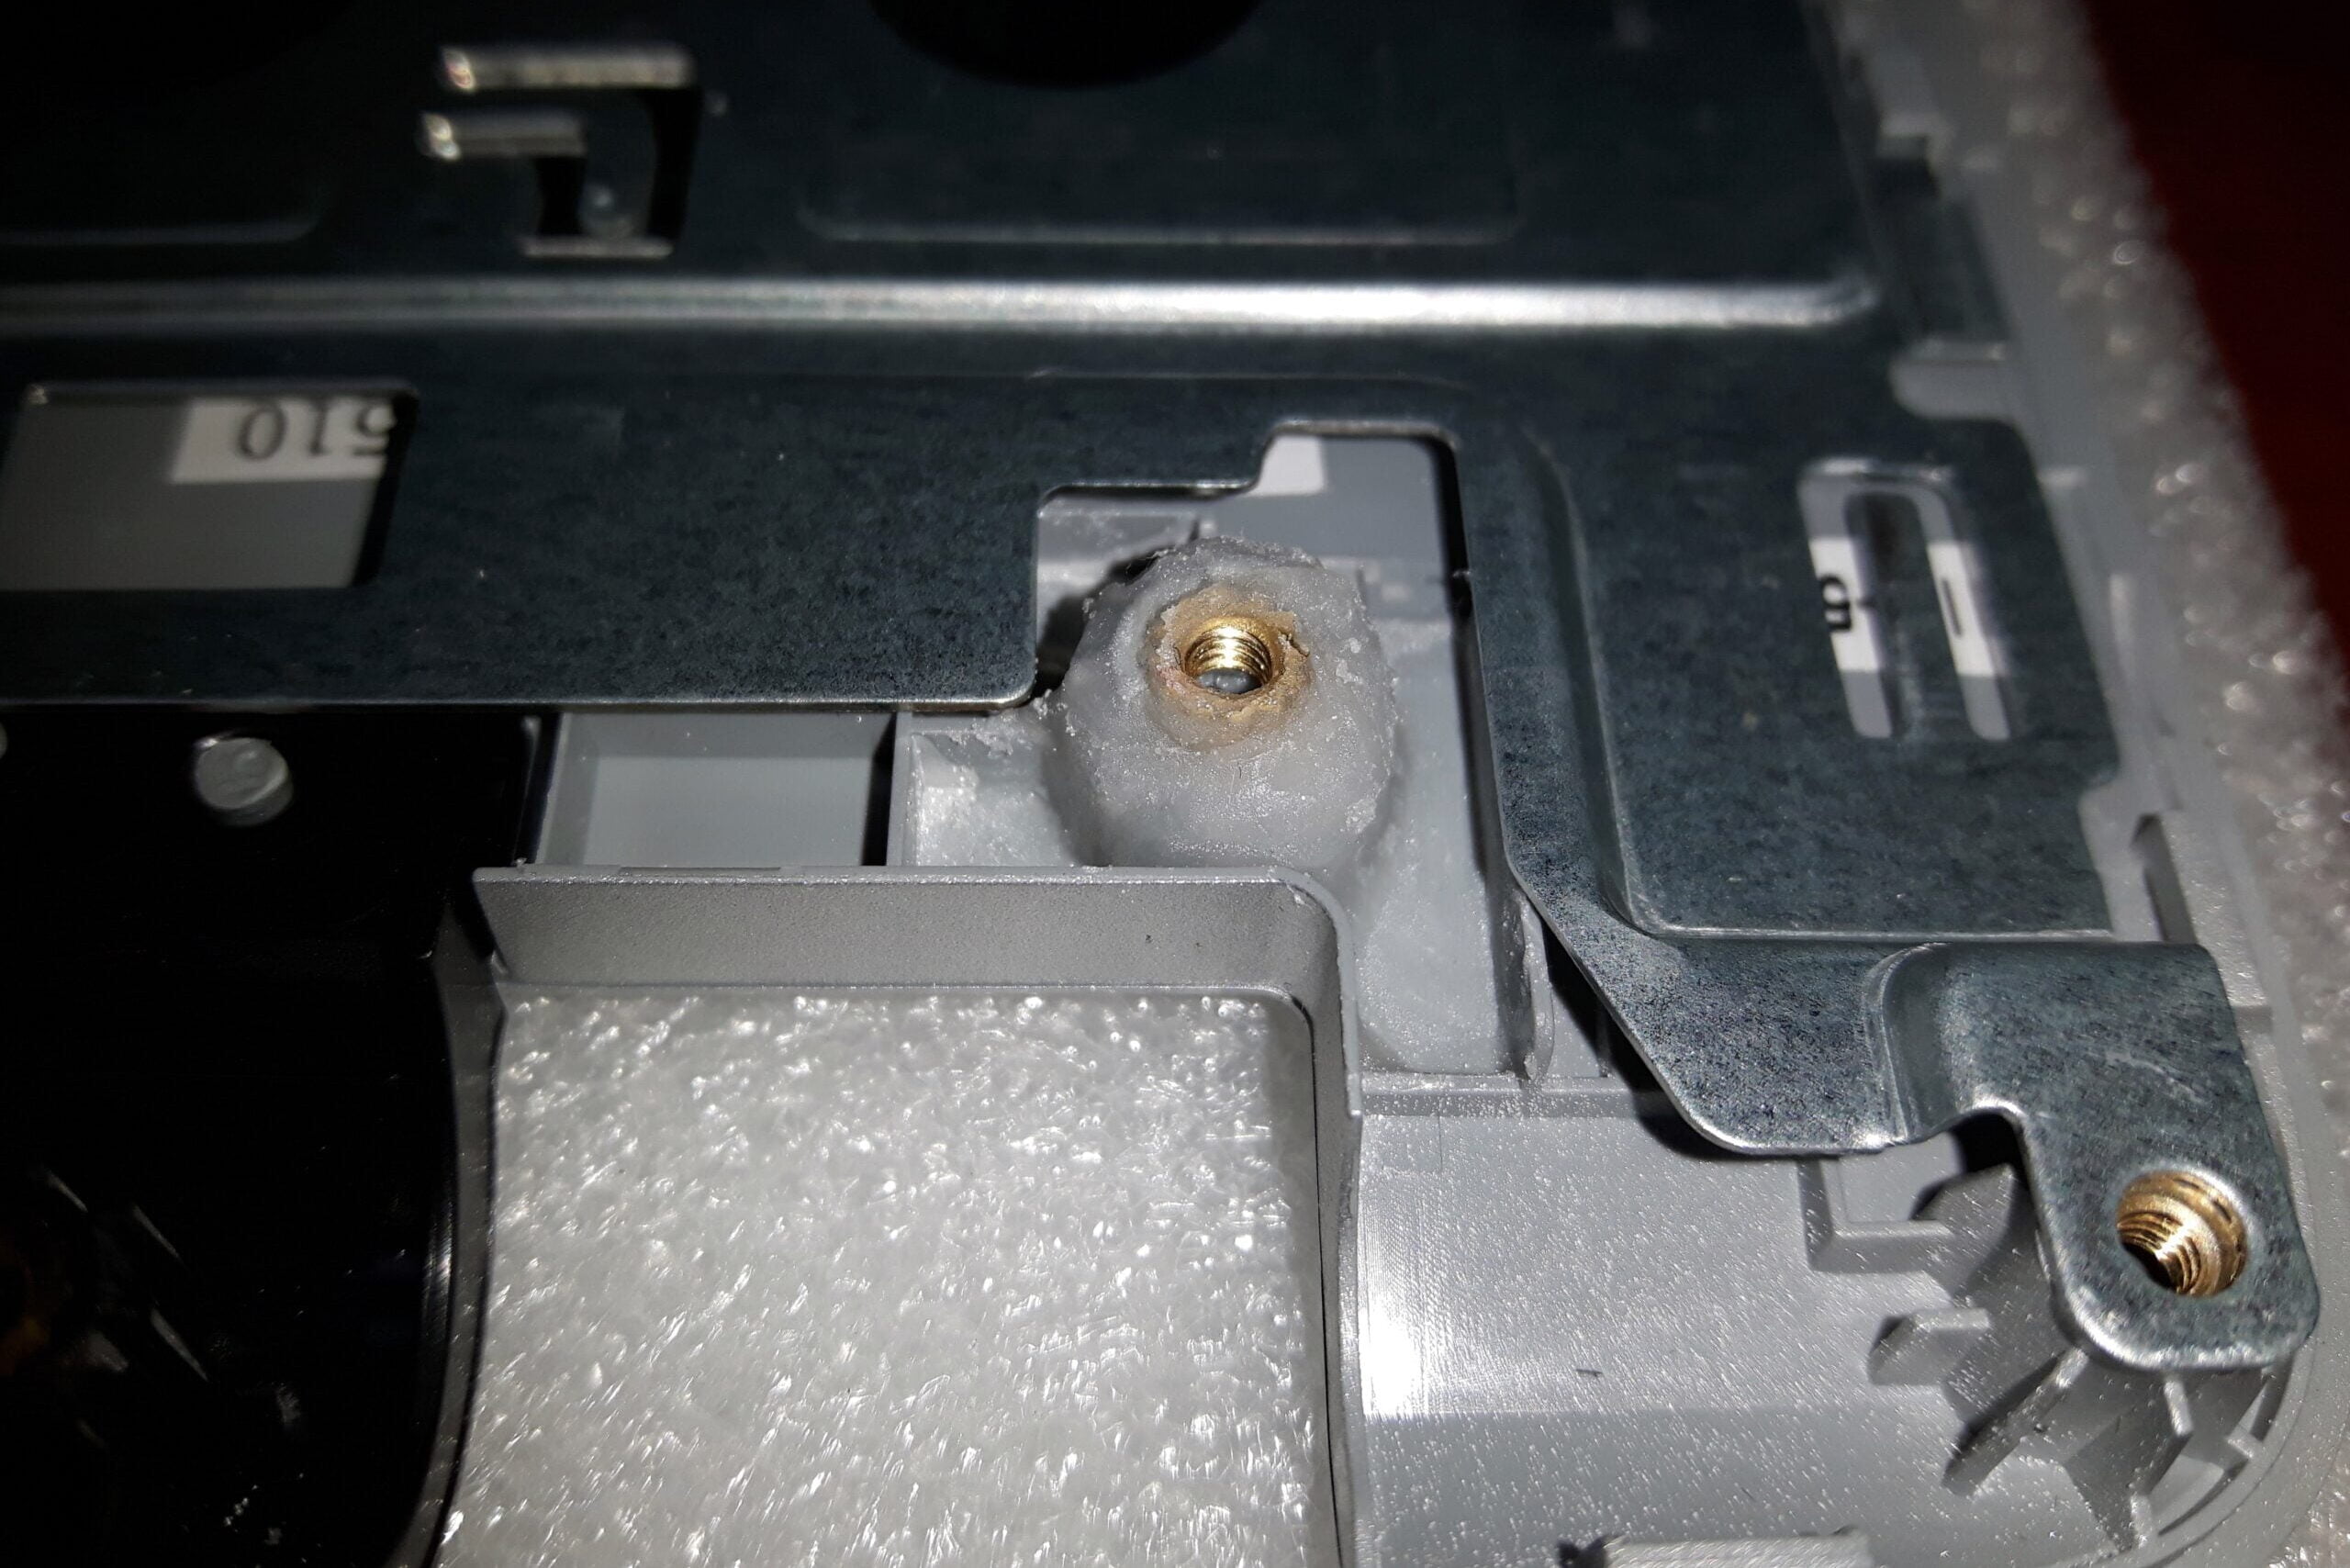
Using the syringe, apply the liquid Plast-aid in and around the plastic anchor. Then, sprinkle a bit of the powder Plast-aid over it and insert the brass insert into the anchor. Continue to apply the liquid and powder Plast-aid gradually, while shaping it with a small flat-headed screwdriver. Take care to apply the Plast-aid close to the anchors, with only a thin layer on top of the brass insert. Avoid direct contact with the screw itself.
If you are not using WD-40, remove the screw gently after ten minutes, even if the Plast-aid application is not yet complete. The screws serve to prevent the Plast-aid from getting into the brass inserts.
Periodically check that the glue does not hinder the reassembly of the laptop by placing the case back together. If any glue is impeding reassembly, address the issue while the glue is still malleable.
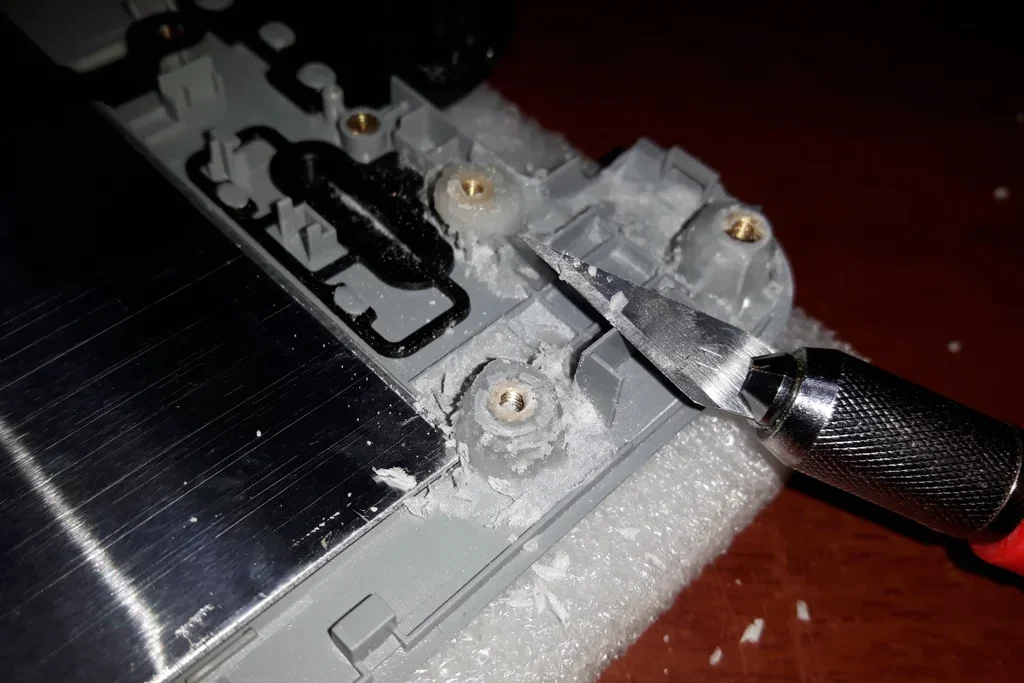
After allowing the Plast-aid to cure for approximately thirty minutes, proceed with reassembling the laptop in the reverse order of the disassembly procedure. If the Plast-aid impedes the proper closure of the laptop chassis, cautiously trim it away using a hobby knife. This process can be time-consuming, as only small portions can be shaved off at a time due to the firmness of the cured Plast-aid.
To aid in reassembling the laptop or recalling the correct screw order, capturing numerous photos or videos during the disassembly process is highly recommended.
Before final reassembly, take the opportunity to clean the laptop thoroughly with a large makeup brush or an anti-static brush, focusing on the fan where dust is most prone to accumulate.
If you choose to embark on this process, I wish you the best of luck. It is a straightforward procedure as long as you proceed with caution, pay attention to the task at hand, and remember to search for additional screws if the laptop does not disassemble easily, as manufacturers tend to place them in unexpected locations.
Our Priority is Helping You, Not Making Sales

Your technical issues matter to us. We’re here to listen and guide you through your options, not to sell you unnecessary solutions.

Confused by terms like VPN and SSD? We break down the tech talk into simple language—or dive deep if you prefer—ensuring you understand each step.

When tech troubles strike, every second counts. We promise swift and efficient replies, reducing your downtime and easing your stress—because we’re always ready to help.
Ready to Resolve Your Tech Troubles?
Don’t let technical issues slow you down. Our team is ready to provide you with fast, effective solutions tailored to your needs. Contact us to discuss your issues and discover how we can help you get back up and running smoothly.
Dear Customers,
Please note that from the 30th of May to the 2nd of July, our team will not be available for home visits or on-site repairs. However, we are fully equipped to support you remotely!
If you need assistance, please contact us via phone or email, and we will do our best to resolve your issues remotely via the internet.
Thank you for your understanding and continued support.
Kind regards,
your Rapid PC Rescue team