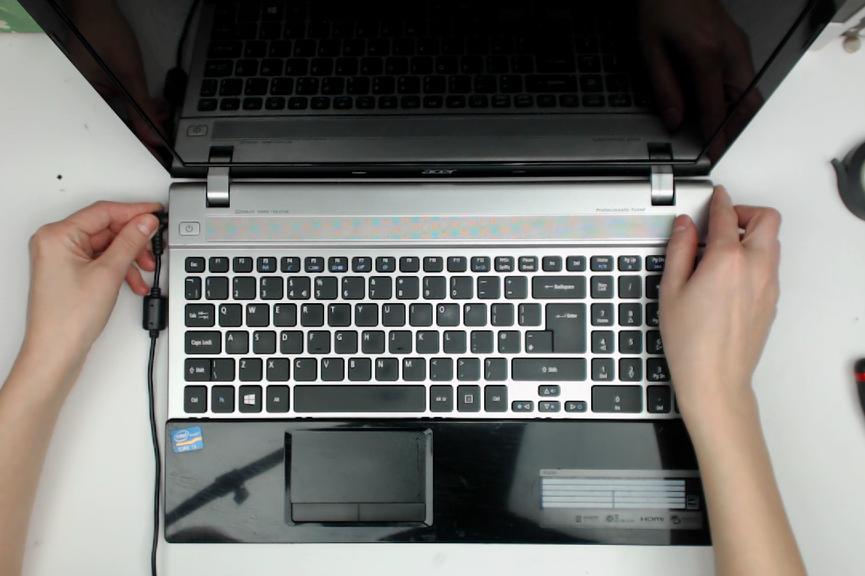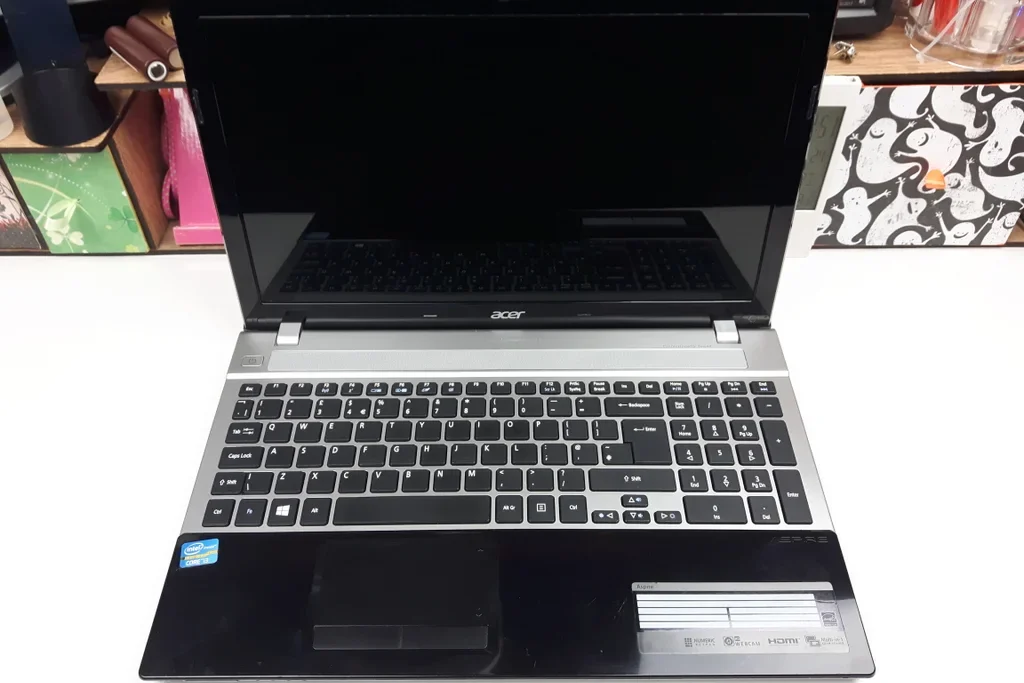

We have received a dirty laptop, an Acer Aspire V3-571 for repair, presenting with a broken hinge and severe overheating issues.
In this guide, we will concentrate on resolving the overheating problem, and conducting a thorough cleaning. Our attention to detail ensures that all repairs are completed to the highest standards, including the restoration of the device’s cleanliness.
If you’re uncertain about your ability to take the laptop apart, it’s best to seek professional help. Disassembling a laptop can be challenging and requires a significant amount of time and patience.
It is more than likely that your laptop model differs from the one in this guide. While disassembling laptops follows a similar procedure, we recommend searching for disassembly videos specific to your laptop model if you feel uncertain at any point. If you are still unsure about attempting repairs on your own, we advise against doing so. While the process may seem simple, there are various aspects that could go wrong, and it is crucial to exercise caution to avoid further damage to your device.
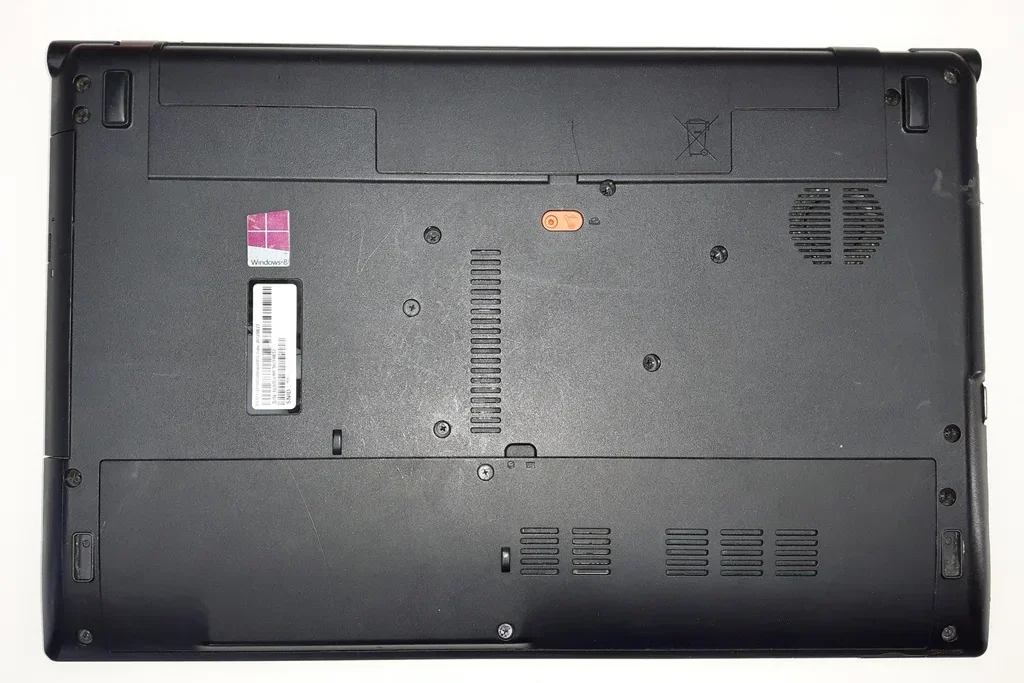
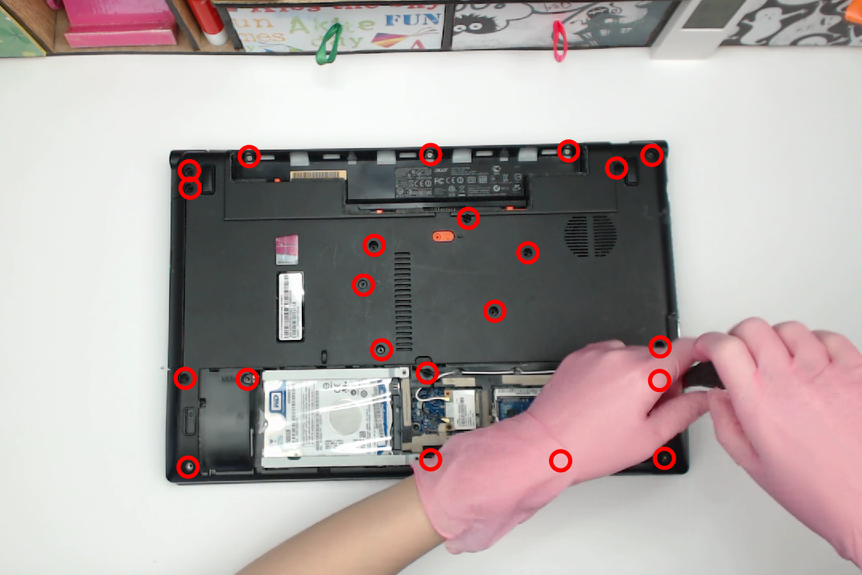
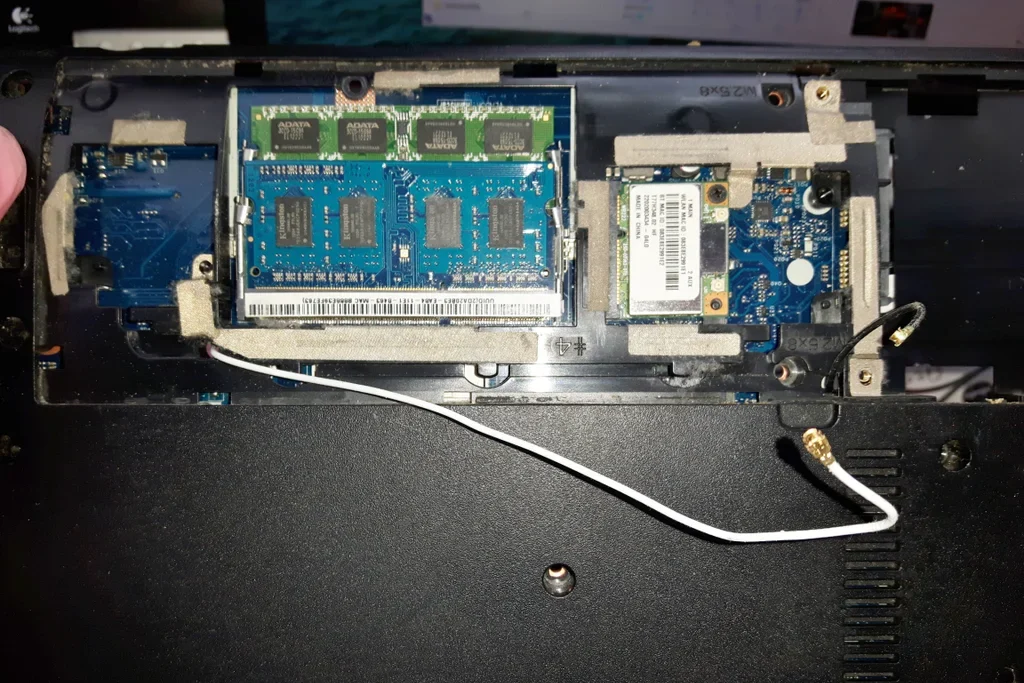
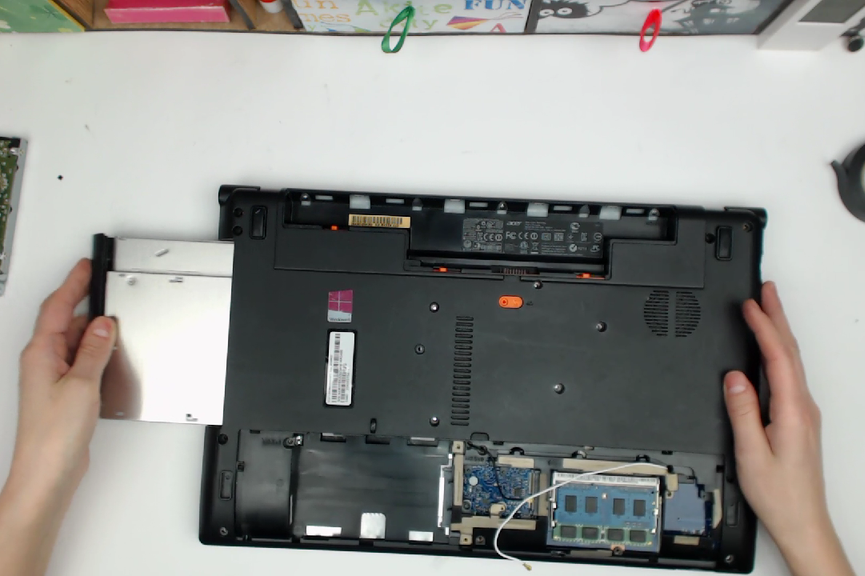
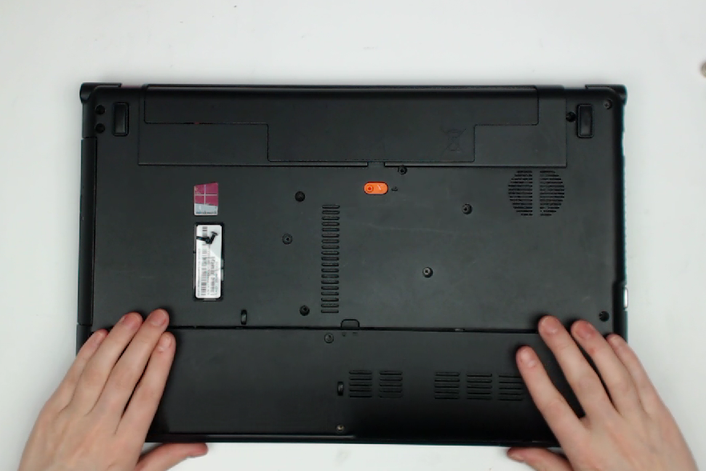
Begin by flipping the laptop upside down and removing the battery, if possible. Proceed by unscrewing the screws that hold the HDD/RAM cover and removing it, if present. It is important to note that newer laptops often lack this cover. Unscrew all visible screws, taking care to remember which screw goes where. To aid in this task, you could arrange the screws in a way that helps you remember or create a diagram to keep track of them. As you progress, keep the screws from the outer casing separate from those on the inside by utilizing small magnets.
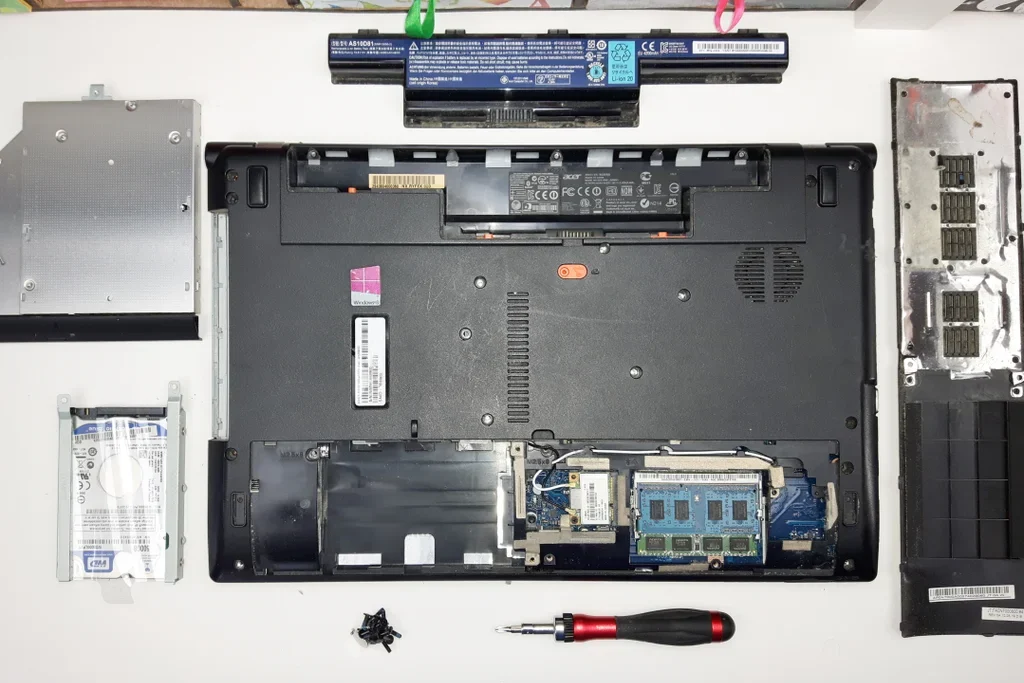
Once you have completed this step, you should be able to remove the HDD and DVD drive.
If the keyboard is not integrated into the top case, it may be necessary to remove it first, as there may be hidden screws underneath.
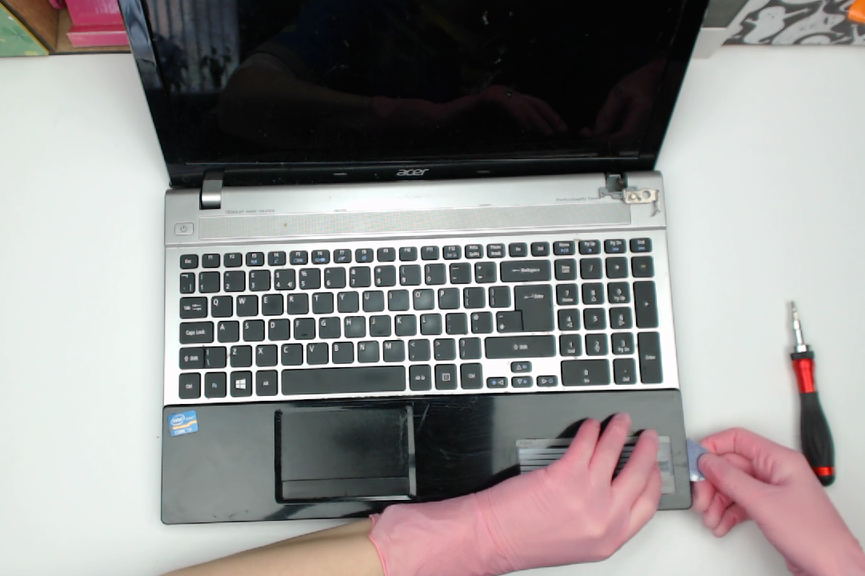
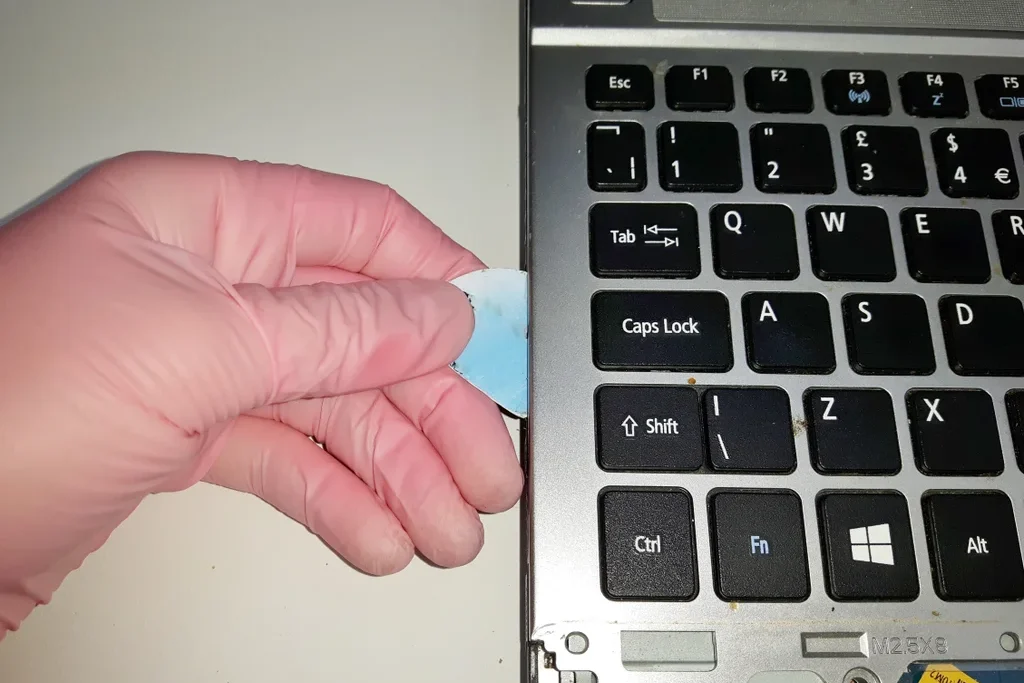
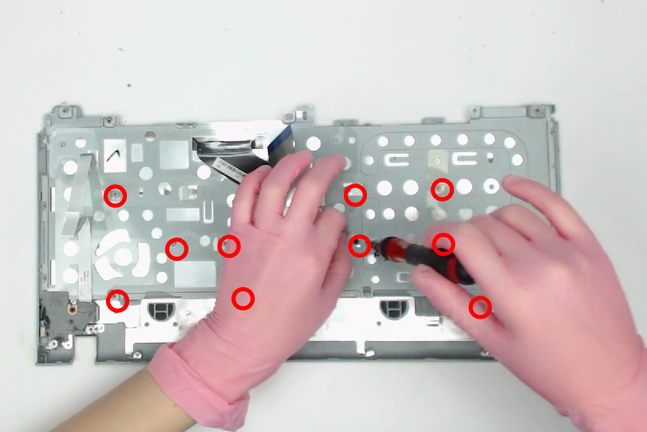
Using a small prying tool, carefully separate the top cover from the base. If the casing resists, double-check for additional screws before prying further.
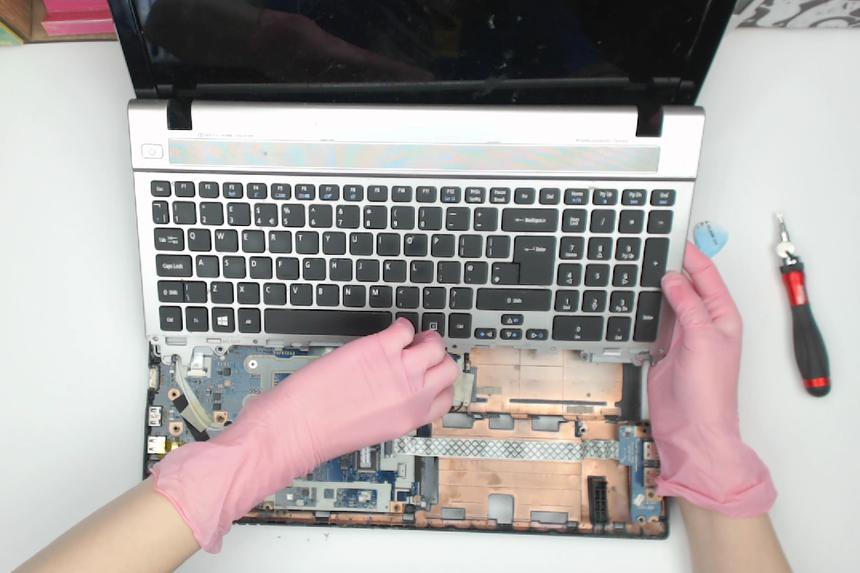
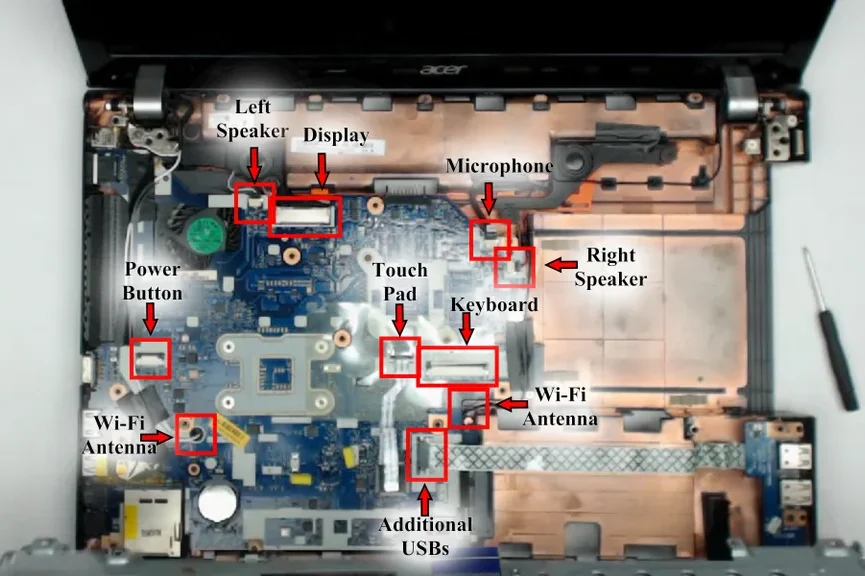
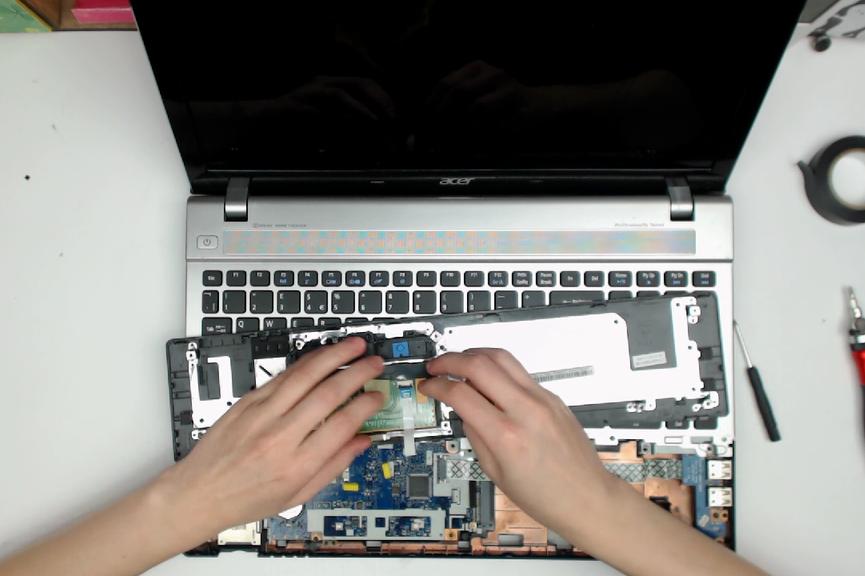
Once the touchpad and keyboard are liberated from the base, gently lift them up and locate the flex cables connecting them to the motherboard. In this particular case, there were three cables: one for the touchpad, one for the keyboard, and the third for the power button.
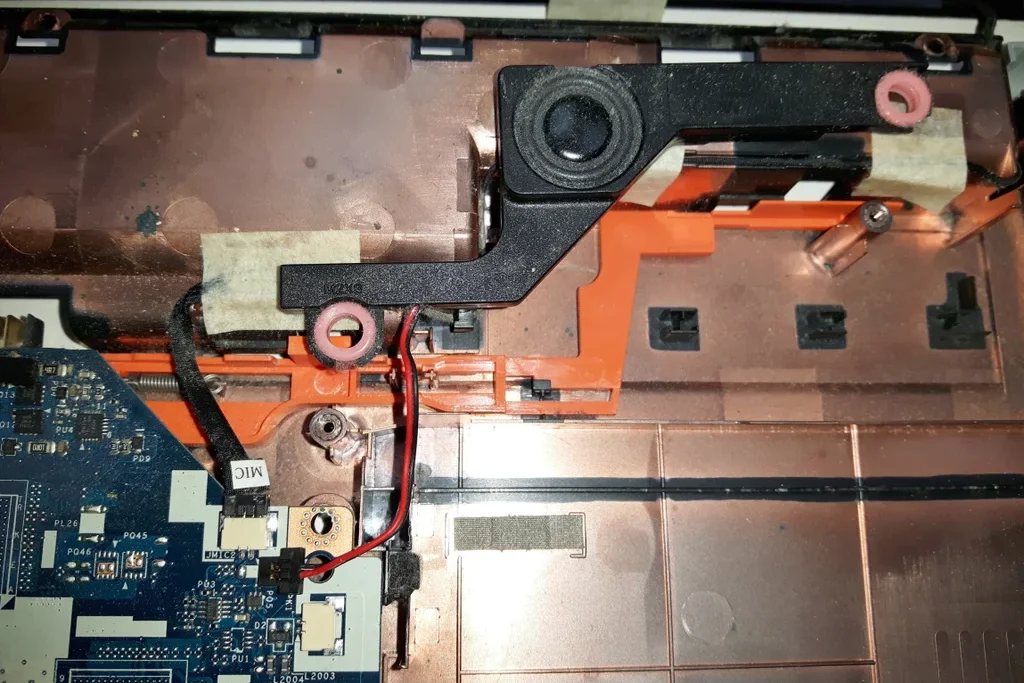
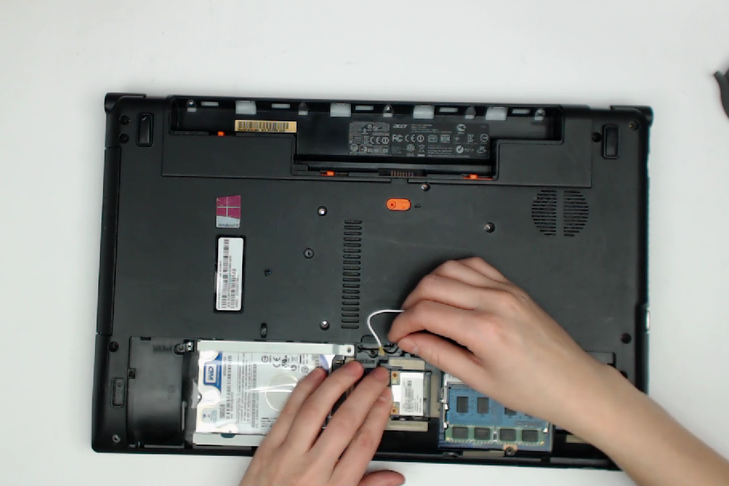
Next, identify the Wi-Fi antennas (white and black cables originating from inside the display) and unplug them along with the microphone and display cable. It is crucial to exercise care when handling the Wi-Fi connectors, as they can be delicate. Remove any components that may obstruct access to the cables, such as speakers.
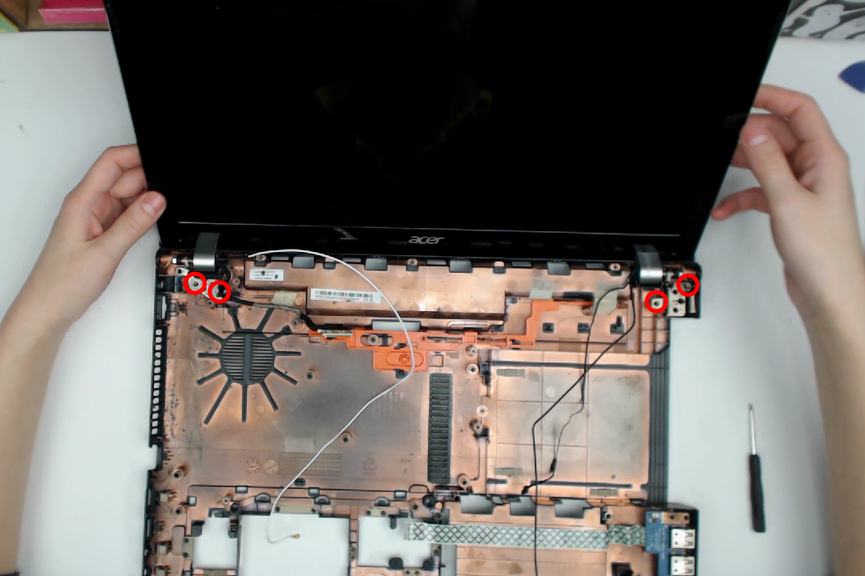
Finally, unscrew the hinges and carefully remove the screen.
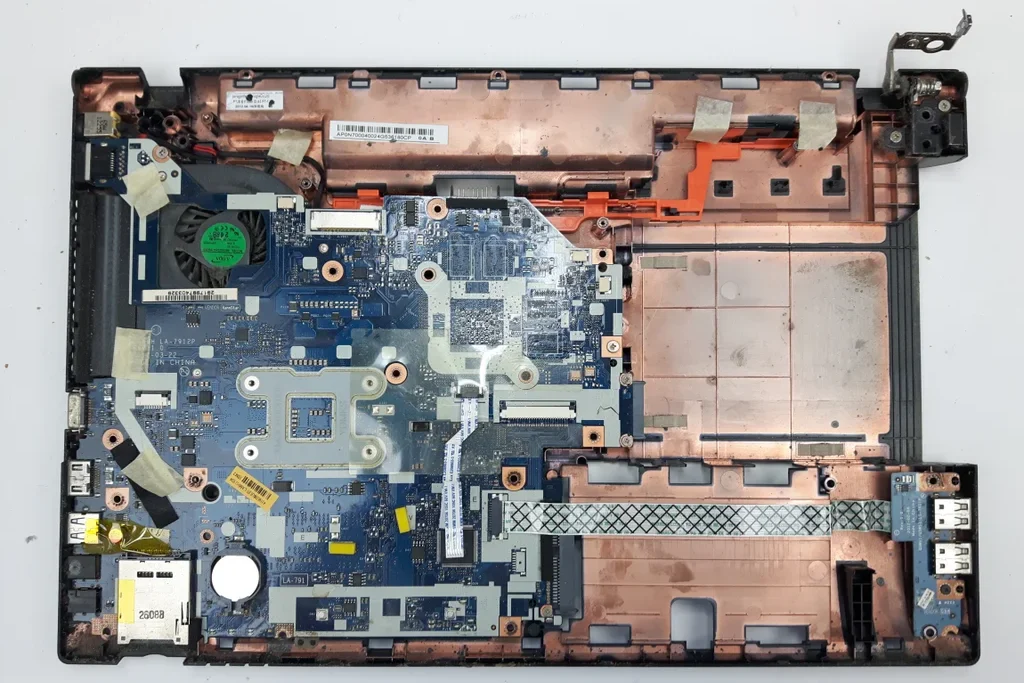
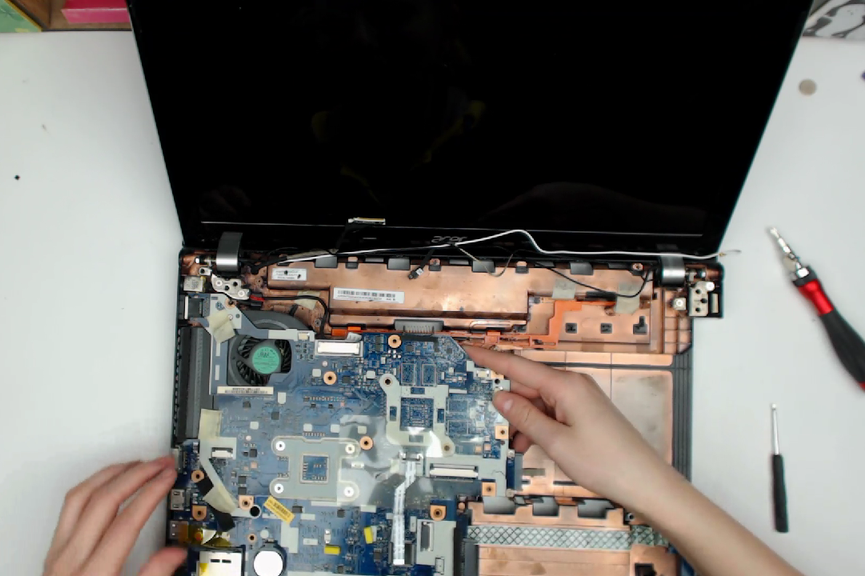
Disconnect any cables that may obstruct the removal of the motherboard from the base and remove the screws securing it in place. In my particular case, only the spare USB flex cable was in the way. Once the screws have been removed, lift the motherboard out.
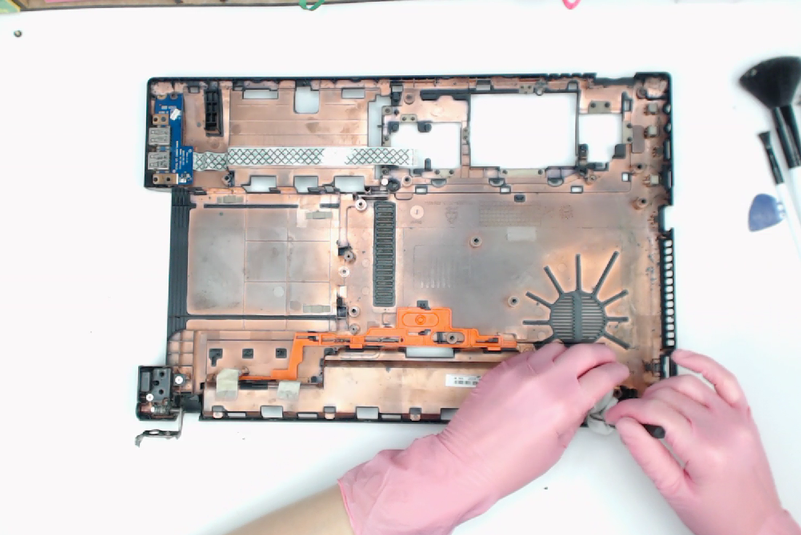
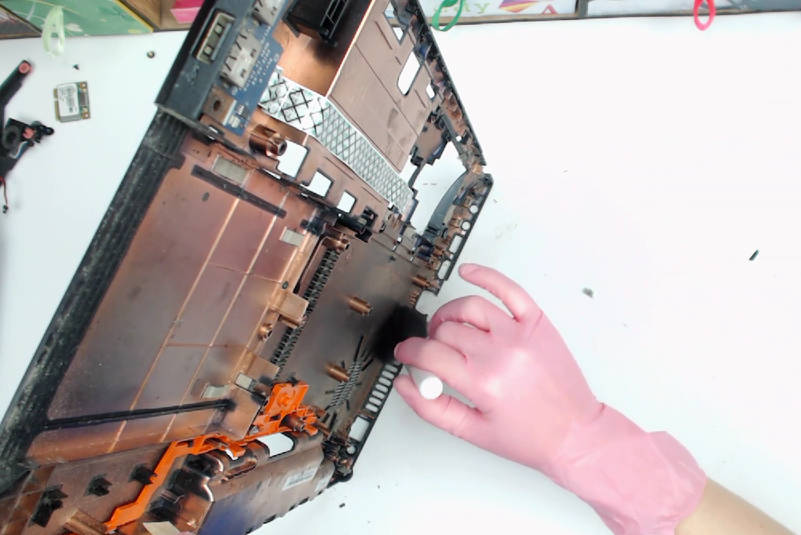
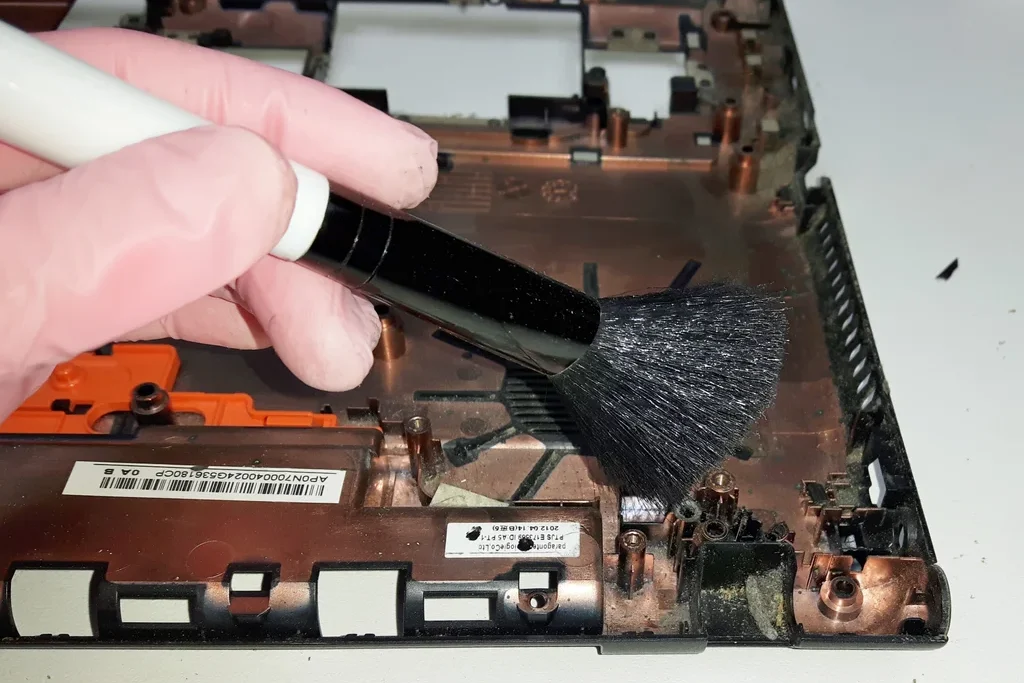
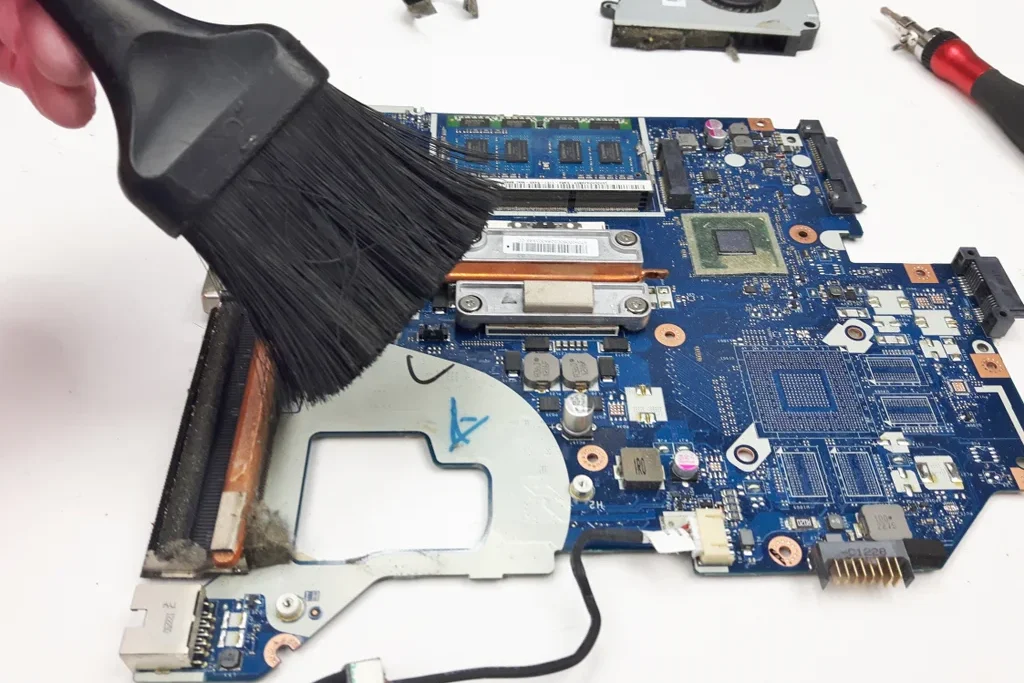
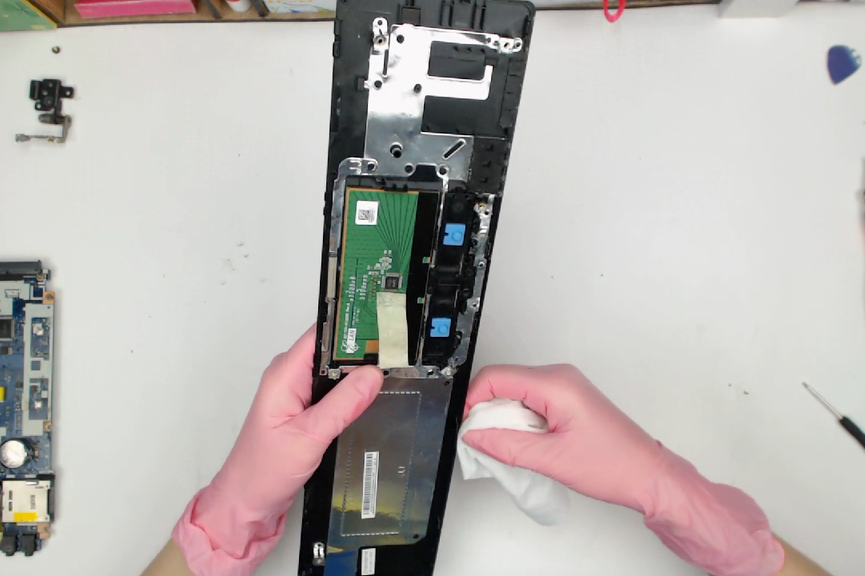
Now, it’s time to clean the base. To do so, I recommend using a set of high-quality makeup brushes and wet wipes. However, it’s crucial to avoid using wet wipes on the motherboard to prevent any damage.
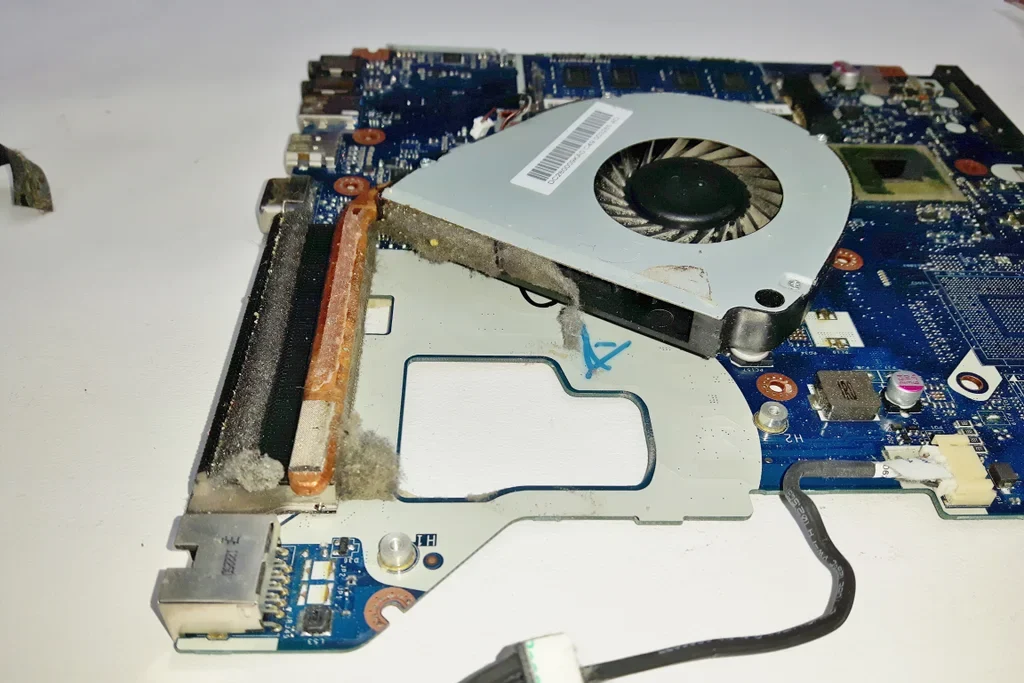
If your laptop is experiencing overheating issues, it’s crucial to address the problem promptly. The accumulation of dust and debris in the fan can significantly affect the cooling system’s efficiency, resulting in overheating.
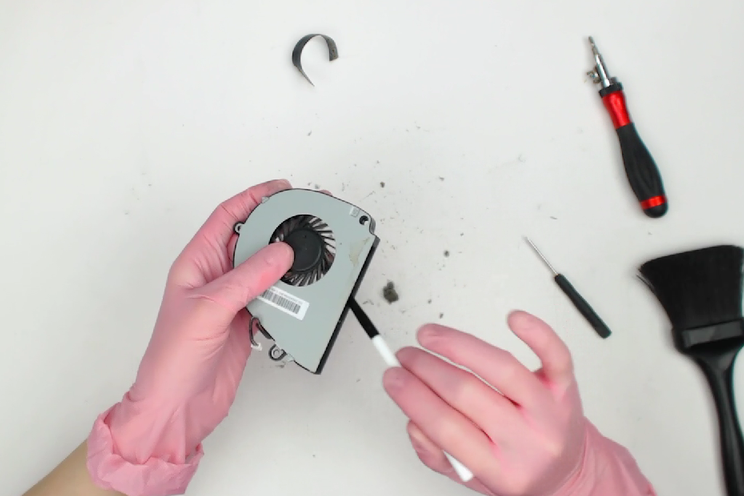
To rectify the issue, start by unscrewing the fan and removing it from the motherboard. Carefully clean the fan and motherboard, utilizing specialized anti-static brushes and cotton swabs soaked in 99.9% alcohol, if necessary.
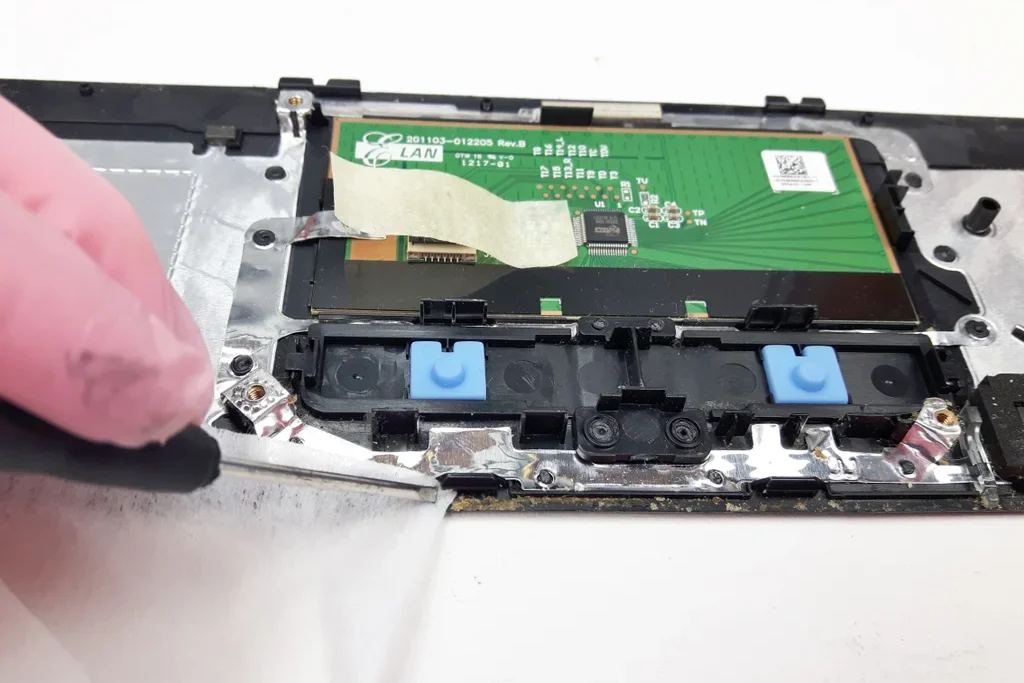
If there is any spillage or debris around the touchpad, remove the CMOS battery before cleaning it with a cotton swab and alcohol. Once the cleaning is complete, reattach the fan to the motherboard and secure it with insulation tape. Remember to connect the fan back to the motherboard.
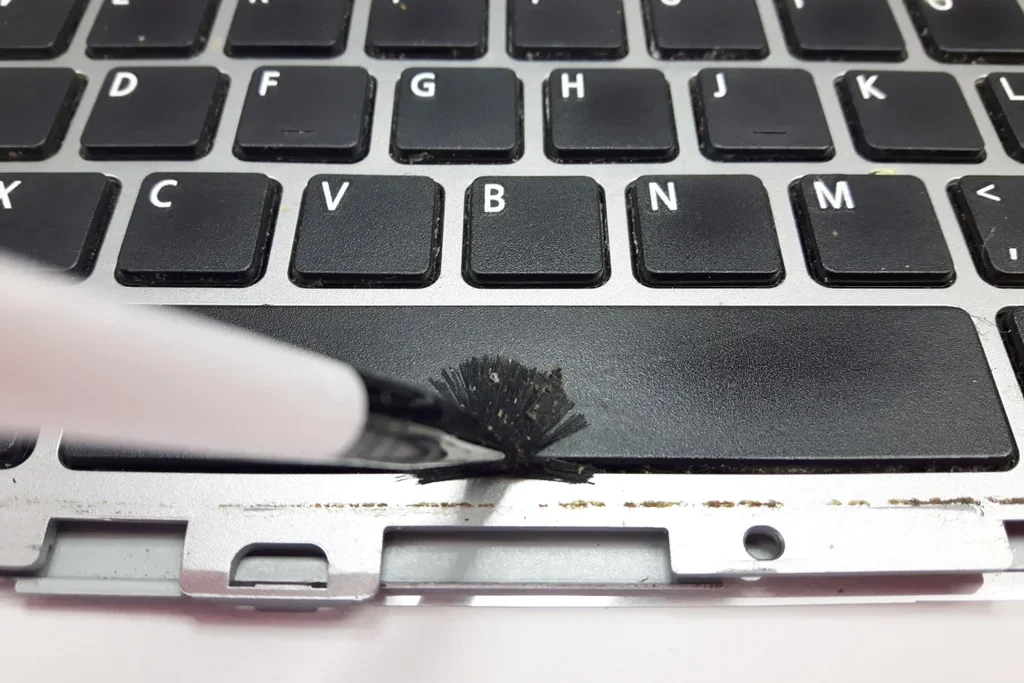
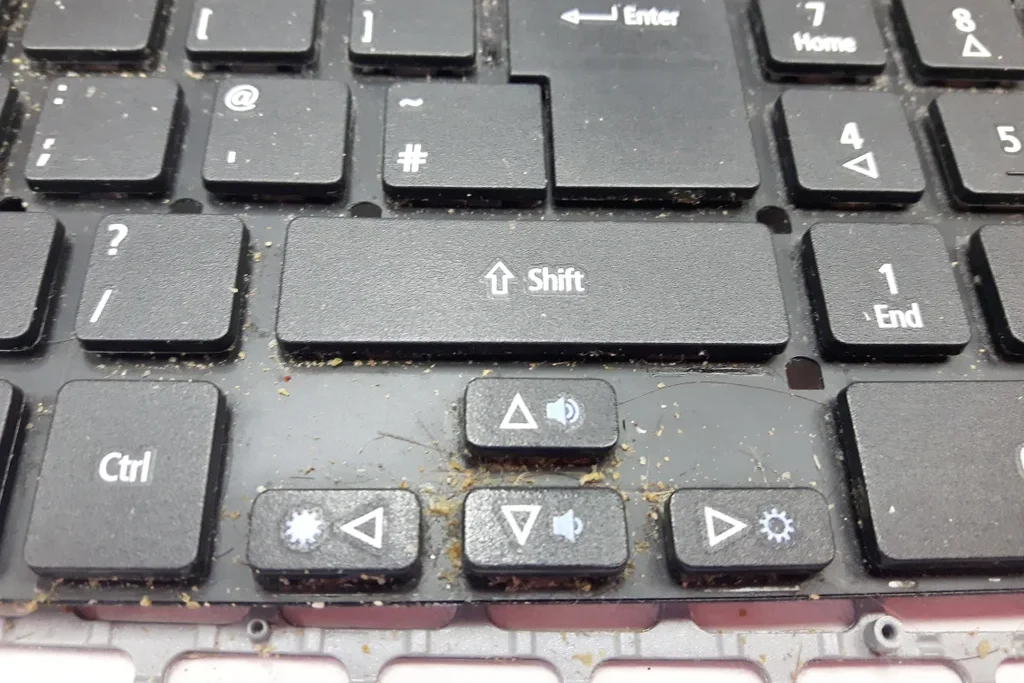
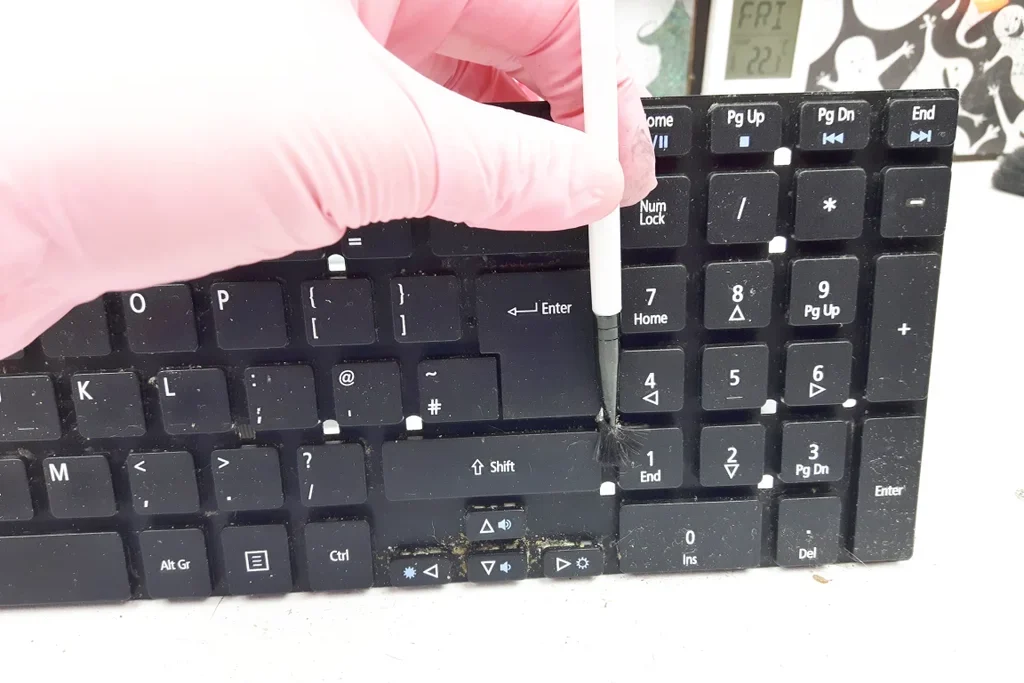
Depending on the level of thoroughness desired, one could opt to either manually clean around the keys using a small brush or proceed with disassembling the keyboard entirely. If the latter option is chosen, carefully unscrew any screws securing the keyboard in place and remove it from the laptop. Utilize a small brush to carefully remove any debris or dust under the keys. For a more extensive cleaning, wrap a small screwdriver into a wet wipe and gently clean around each key. Reassemble the keyboard and secure it back into place with the screws.
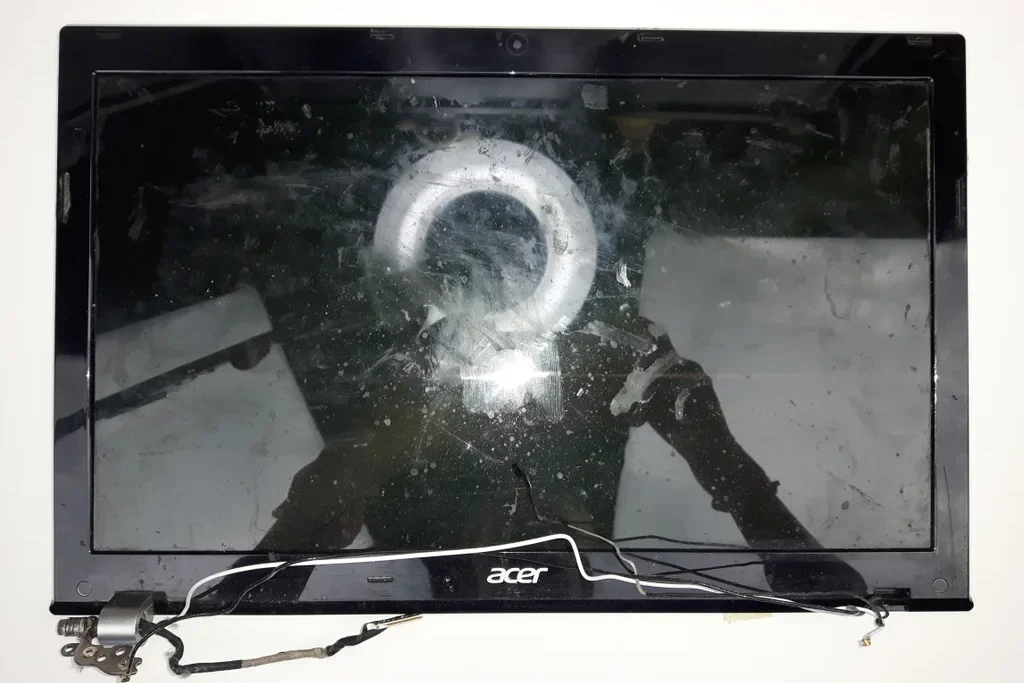
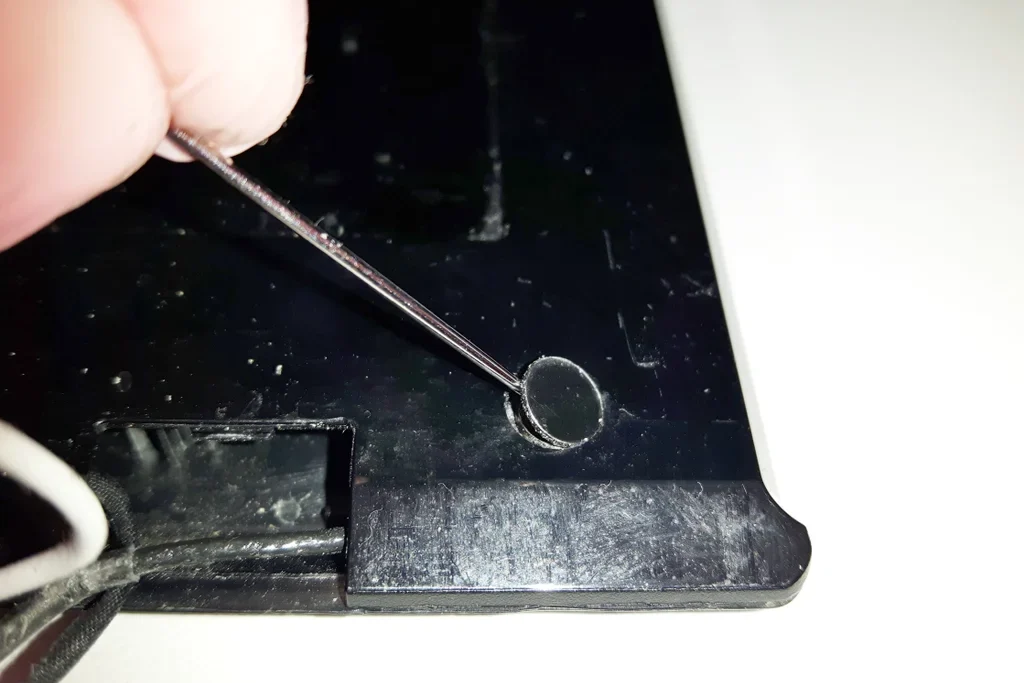
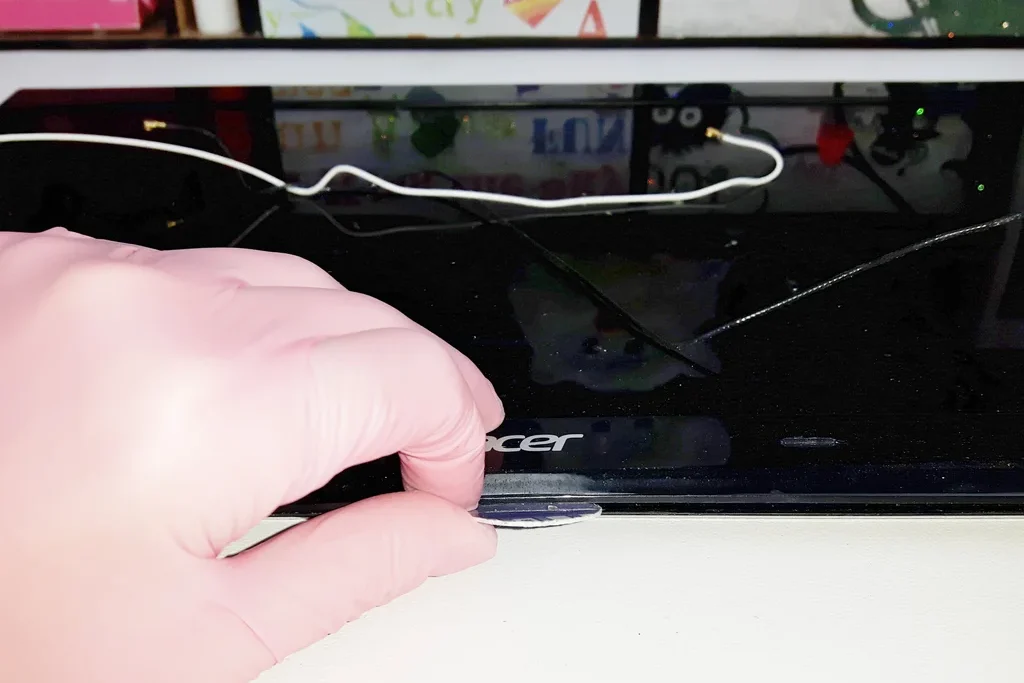
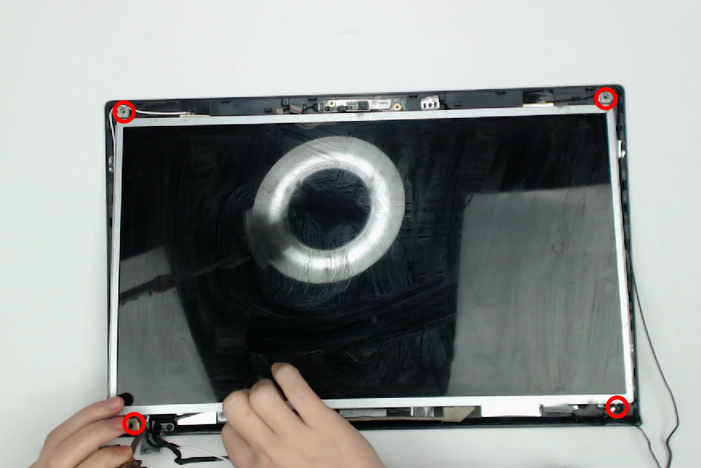
To access and clean the display of your laptop, you will need to carefully remove the frame and housing. This typically involves locating and removing screws, which may be hidden under adhesive circle pads. Once the screws are removed, use a prying tool to separate the frame from the housing. Underneath the frame, you may find additional screws that need to be removed before gently lifting the screen.
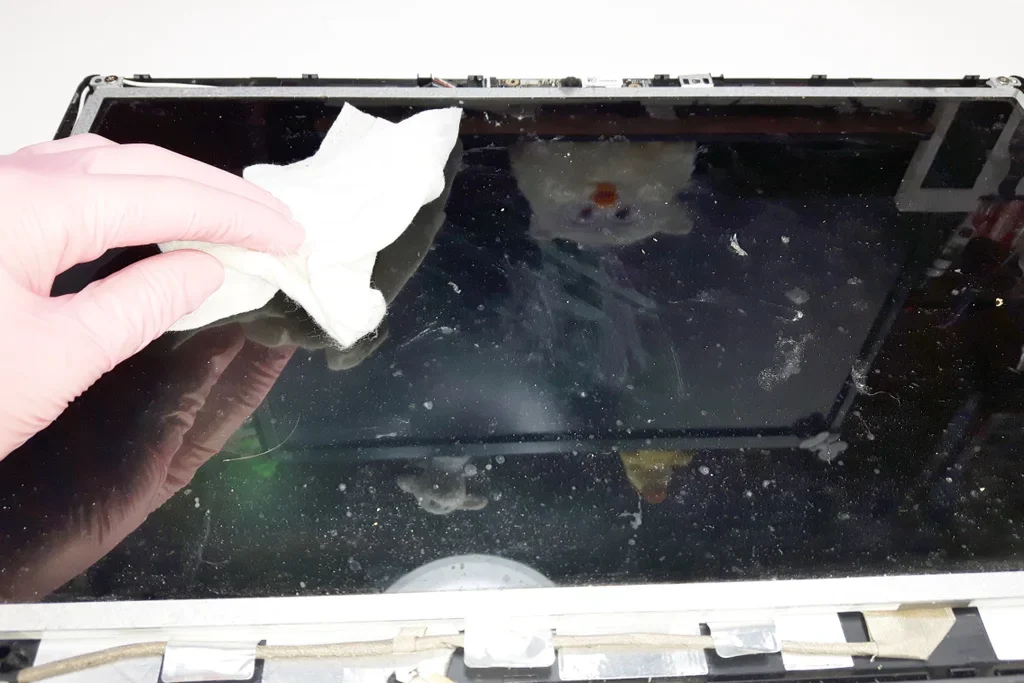
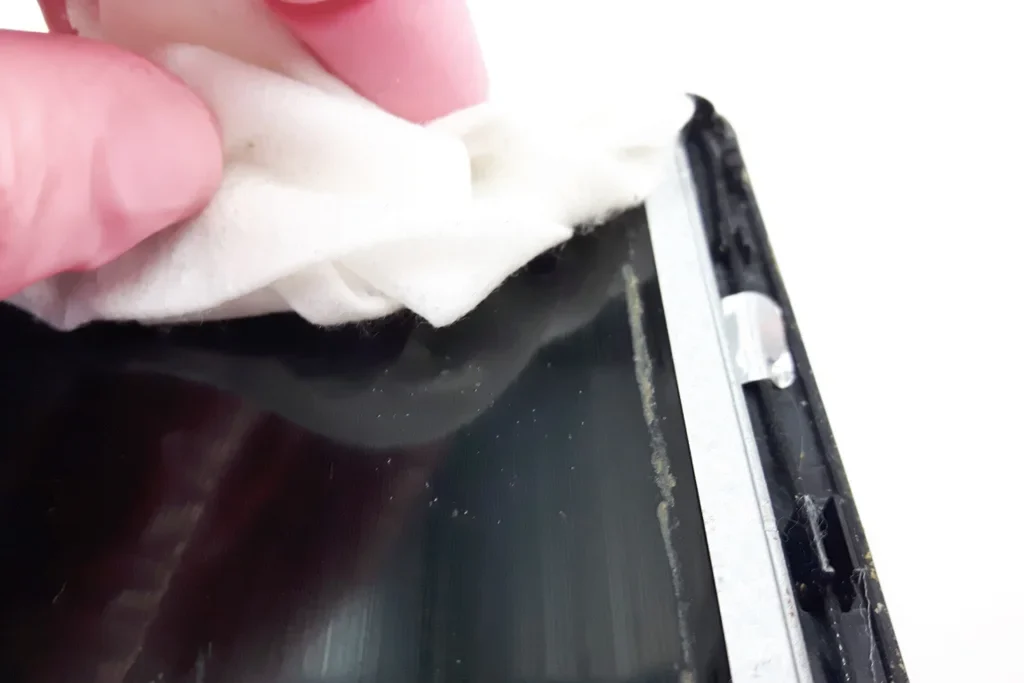
If there is any dirt or debris under the display frame, this would be a good time to clean it using a damp cloth or wet wipe. However, it’s important to avoid touching any circuit boards or sensitive electronic components with the damp cloth.
Note that the process of accessing and cleaning the display may vary depending on the specific make and model of your laptop, so be sure to consult manufacturer instructions or seek professional assistance if needed.
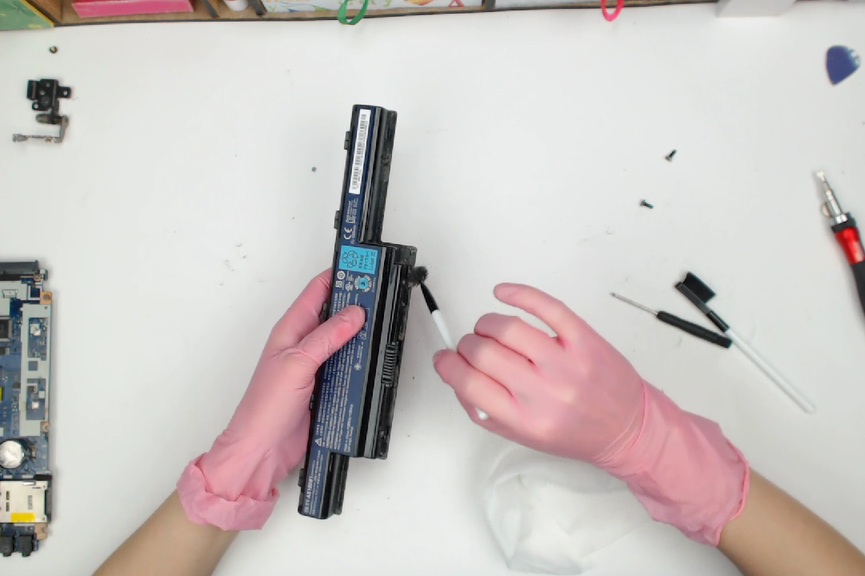
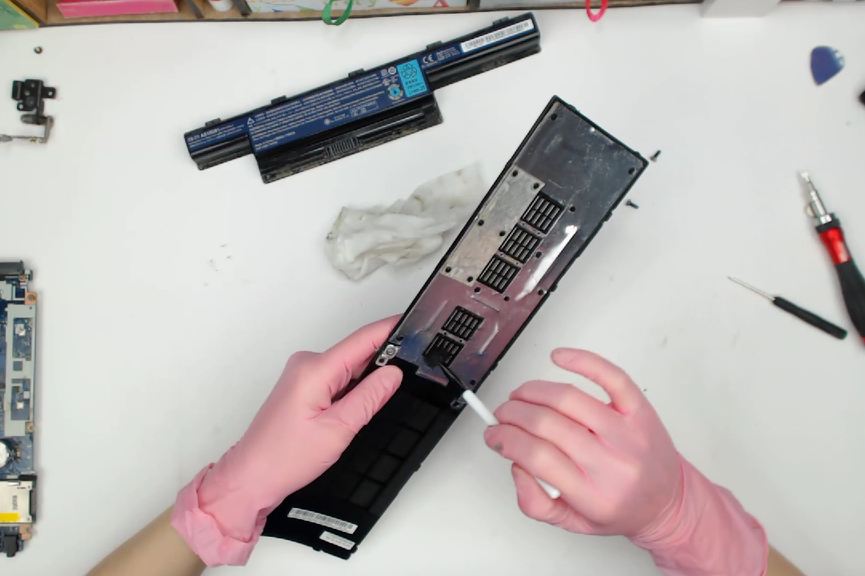
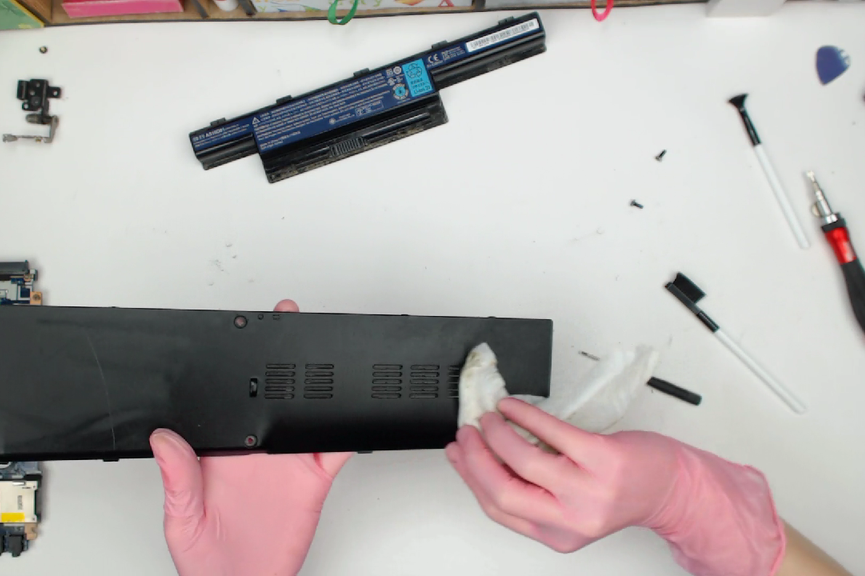
If there are any other parts that require cleaning, such as the touchpad, battery, or HDD cover, it’s a good idea to clean them as well. This can be done using the same method as before, using a combination of a brush, wet wipes, and rubbing alcohol as needed.
Reattach the display and perform a preliminary test of the hinges, keeping in mind that they may not be fully supported until reassembly is complete. If necessary, adjust the hinge pivot tension using pliers.
During reassembly, follow the disassembly process in reverse, ensuring that all components are properly connected and screwed, but don’t overtighten the screws. Prior to fastening the top cover and base together, it is recommended to connect the power supply and power on the laptop to verify that all components have been correctly reattached, including speakers, touch pad, microphone, Wi-Fi antennas, and any other relevant parts.
It is important to ensure that no metal components come into contact with the motherboard during this process, as this can result in a short circuit and cause irreparable damage to the motherboard.
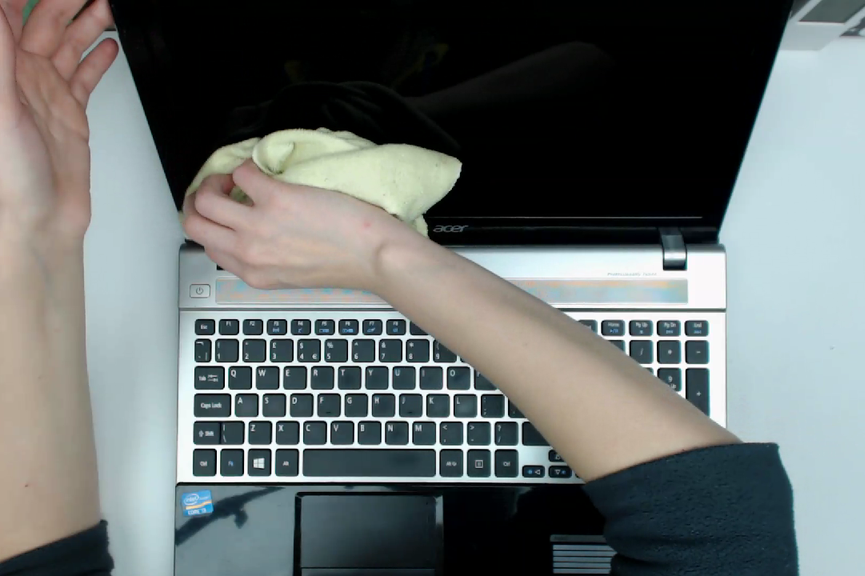
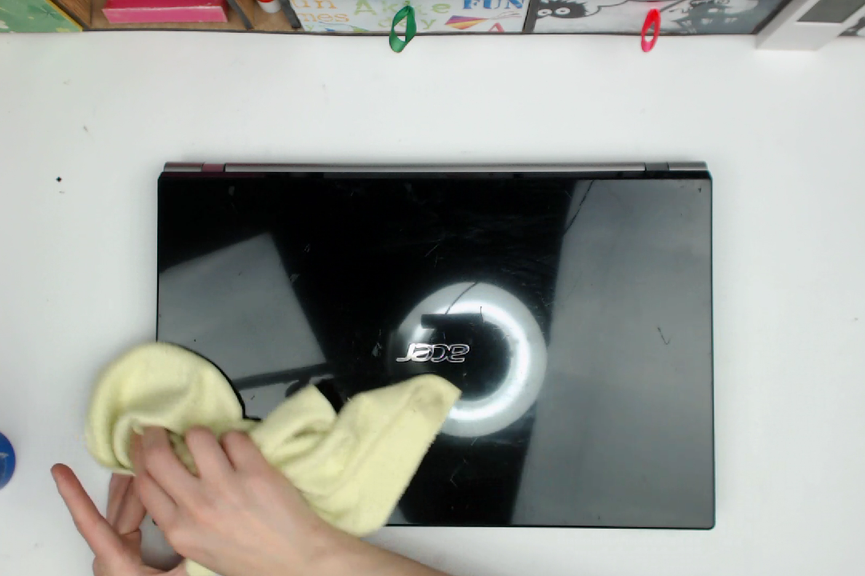
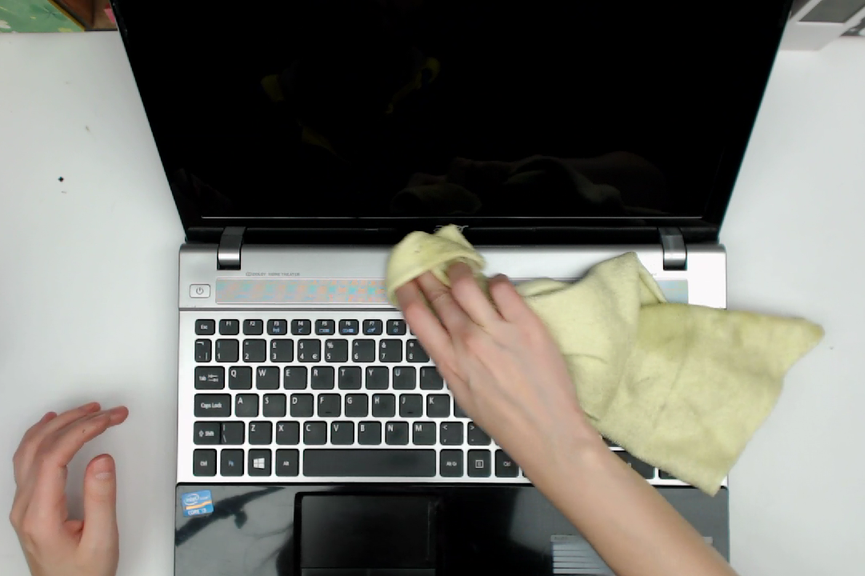
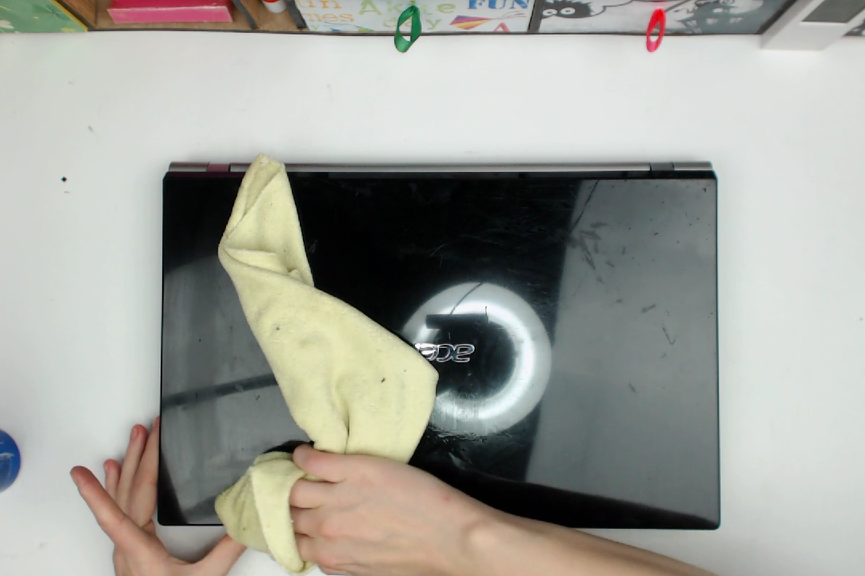
After removing the dirt from the exterior of the case and screen using a wet wipe, the laptop was left with unsightly smudge marks. To remedy this, I wiped the laptop down again using a screen cleaner and a soft cloth. To prevent any damage to the laptop, it’s best to avoid spraying the cleaner directly onto the screen or any other part of the device. Instead, spray the cleaner onto the cloth and use it to gently wipe down the laptop, being careful not to get any liquid inside the device.
Do you have a dirty laptop but don’t have the time or patience to fix it yourself, we are here to help